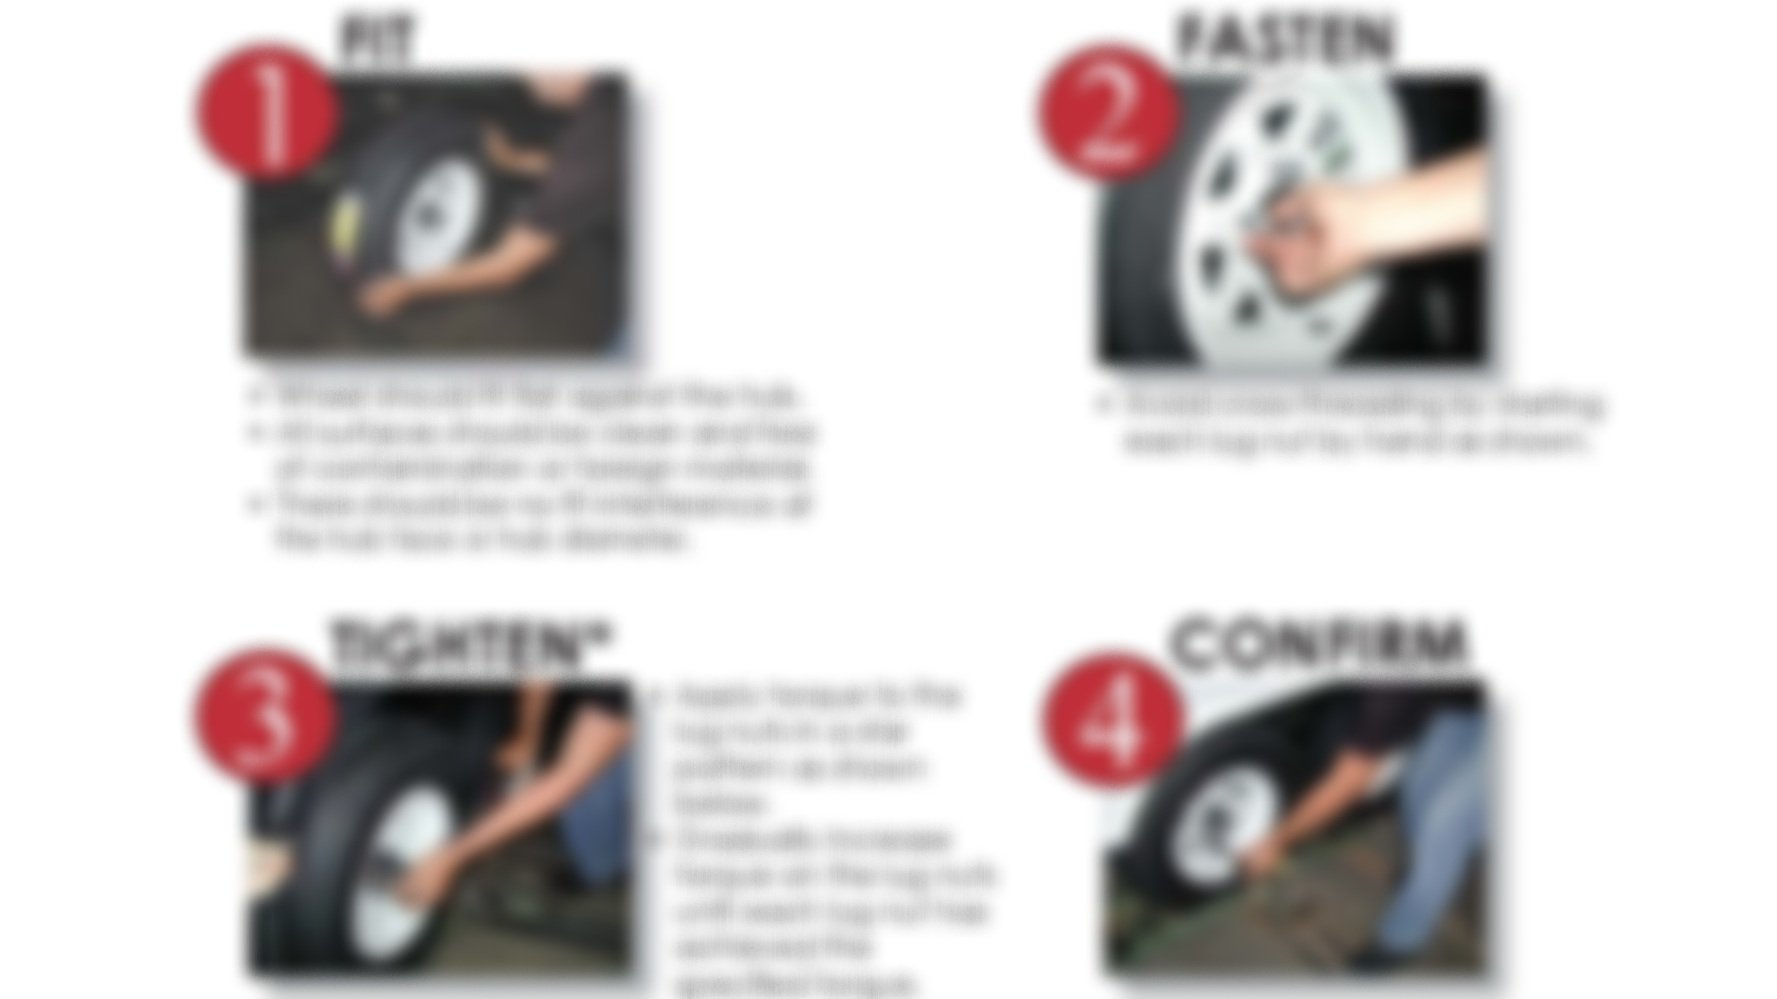
Properly torquing lug nuts isn’t just about tightening bolts — it’s about protecting your trailer, preventing damage, and ensuring safe towing. Whether you're performing routine maintenance or reattaching a wheel after service, follow these steps for a secure installation:
1. Remove the Lug Nuts
Loosen and remove all lug nuts. Pay attention to how they feel — excessive resistance may indicate cross-threading or corrosion, which should be addressed before reinstalling.
2. Inspect Studs and Wheel Surface
With the wheel removed, inspect each lug stud for signs of rust, thread damage, or wear. Even a slightly damaged stud can compromise the wheel’s connection.
Pro Tip: When working with a new trailer wheel setup, thread each lug nut on and off a few times by hand before final torquing. This helps fully seat the stud in the hub and ensures the threads are properly aligned and engaged.
3. Clean the Hub and Wheel
Ensure the hub face and wheel mounting surface are clean and flat. Remove any dirt, rust, or road salt that could prevent the wheel from seating evenly. Do the same for the inside of the wheel rim.
4. Reinstall the Wheel
Mount the wheel back onto the hub, ensuring it seats fully and centers properly on the hub’s pilot ring. A misaligned rim can cause vibrations and torque inconsistencies.
5. Hand-Start Lug Nuts
Thread each lug nut by hand before applying any tools. If you feel resistance, stop and check for cross-threading. Never force a lug nut onto a misaligned thread.
6. Initial Tightening
After lug nuts are hand-started, torque nuts in stages in a star (or crisscross) pattern (see image below). Apply even pressure around the wheel, tightening each lug a little at a time to draw the wheel into place evenly.
7. Final Torque with the Trailer Partially Lowered
Lower the trailer so the tire just touches the ground but isn’t fully loaded. This allows the wheel to stay in place while you apply the final torque setting without the weight of the trailer interfering with lug nut seating.
8. Set the Final Torque
Use a calibrated torque wrench/torque stick to apply the manufacturer-recommended value to each lug nut, following the star pattern again.
9. Double Check Your Work
After completing all lugs, go around the pattern once more to confirm each one is properly torqued. This simple habit can prevent serious accidents or equipment damage down the road.
10. Recheck After Driving
According to Lippert’s service manual, “Wheel lug nuts should be torqued before first road use and then after each wheel removal.” Always recheck lug nut torque after 10, 25, and 50 miles of driving. New installations and freshly torqued wheels may shift slightly during initial use.


