
How to Manually Repack Trailer Wheel Bearings: A Step-by-Step Guide for Trailer Owners
Regular wheel bearing maintenance is one of the most important things a trailer owner can do to help prevent breakdowns, reduce wear, and support safer towing. Bearings allow the wheel hub to rotate smoothly on the spindle. Over time, grease can break down, become contaminated, or wash out, especially if the trailer sees heavy use, makes long trips, or is exposed to moisture. That is why routine bearing service matters. Many manufacturers recommend servicing trailer bearings about once a year or every 12,000 miles, but always check your owner’s manual for the interval, grease type, and torque specifications that apply to your trailer.
Before You Begin
This is a hands-on maintenance job that requires attention to cleanliness and detail. If you are not comfortable lifting the trailer, removing the hub, or identifying worn parts, it is best to have the work performed by a qualified service technician. You should also have the correct replacement grease seal on hand before you begin, since seals are typically removed during service and should not be reused.
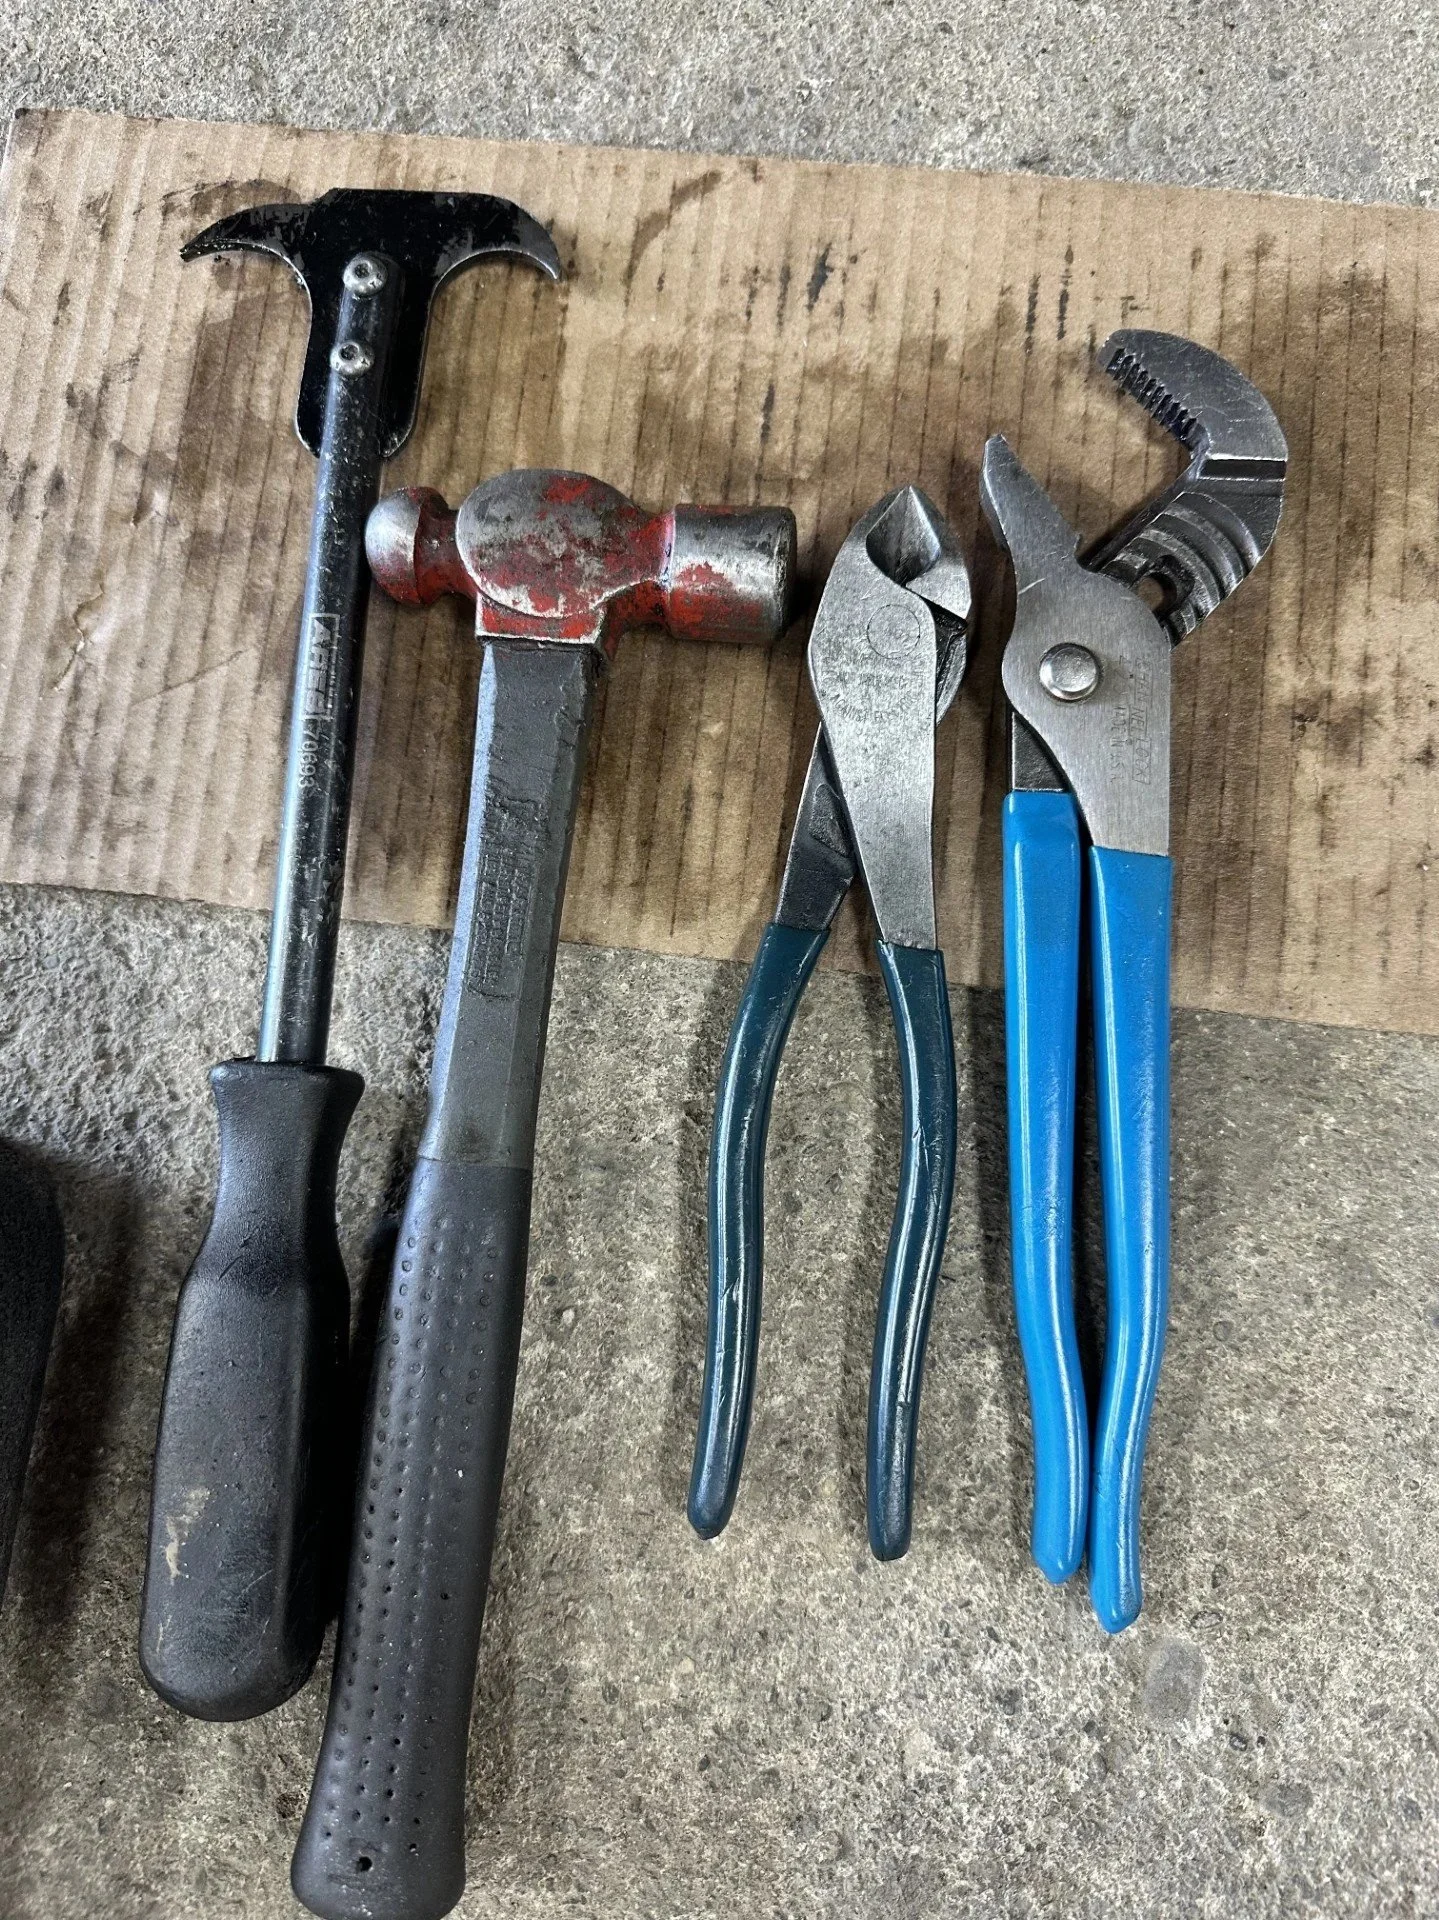
Tools and supplies needed to repack trailer wheel bearings.
Tools and Supplies You Will Likely Need
Gather your supplies before starting so the job goes smoothly.
Typical items include:
Jack and jack stands rated for the trailer
Lug wrench
Pliers or side cutters for the cotter pin
Flat screwdriver or cap removal tool
Shop towels or lint-free rags
Parts-cleaning solvent or brake cleaner
High-quality wheel bearing grease approved for trailer use (Boat trailers need marine grade grease)
New grease seal
Hammer and a block of wood, or a proper seal driver
Gloves
Torque wrench
Some trailers may also require additional tools depending on hub style, cap type, or axle hardware.
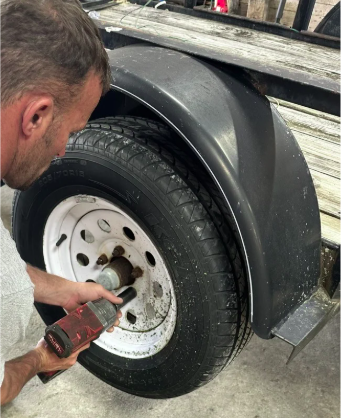
Step 1: Park Safely and Secure the Trailer
Park the trailer on a level surface. Chock the wheels that will remain on the ground and make sure the trailer is stable before lifting. Loosen the lug nuts slightly before raising the trailer. Then jack up one side and support it securely with jack stands. Never rely on a jack alone while working.
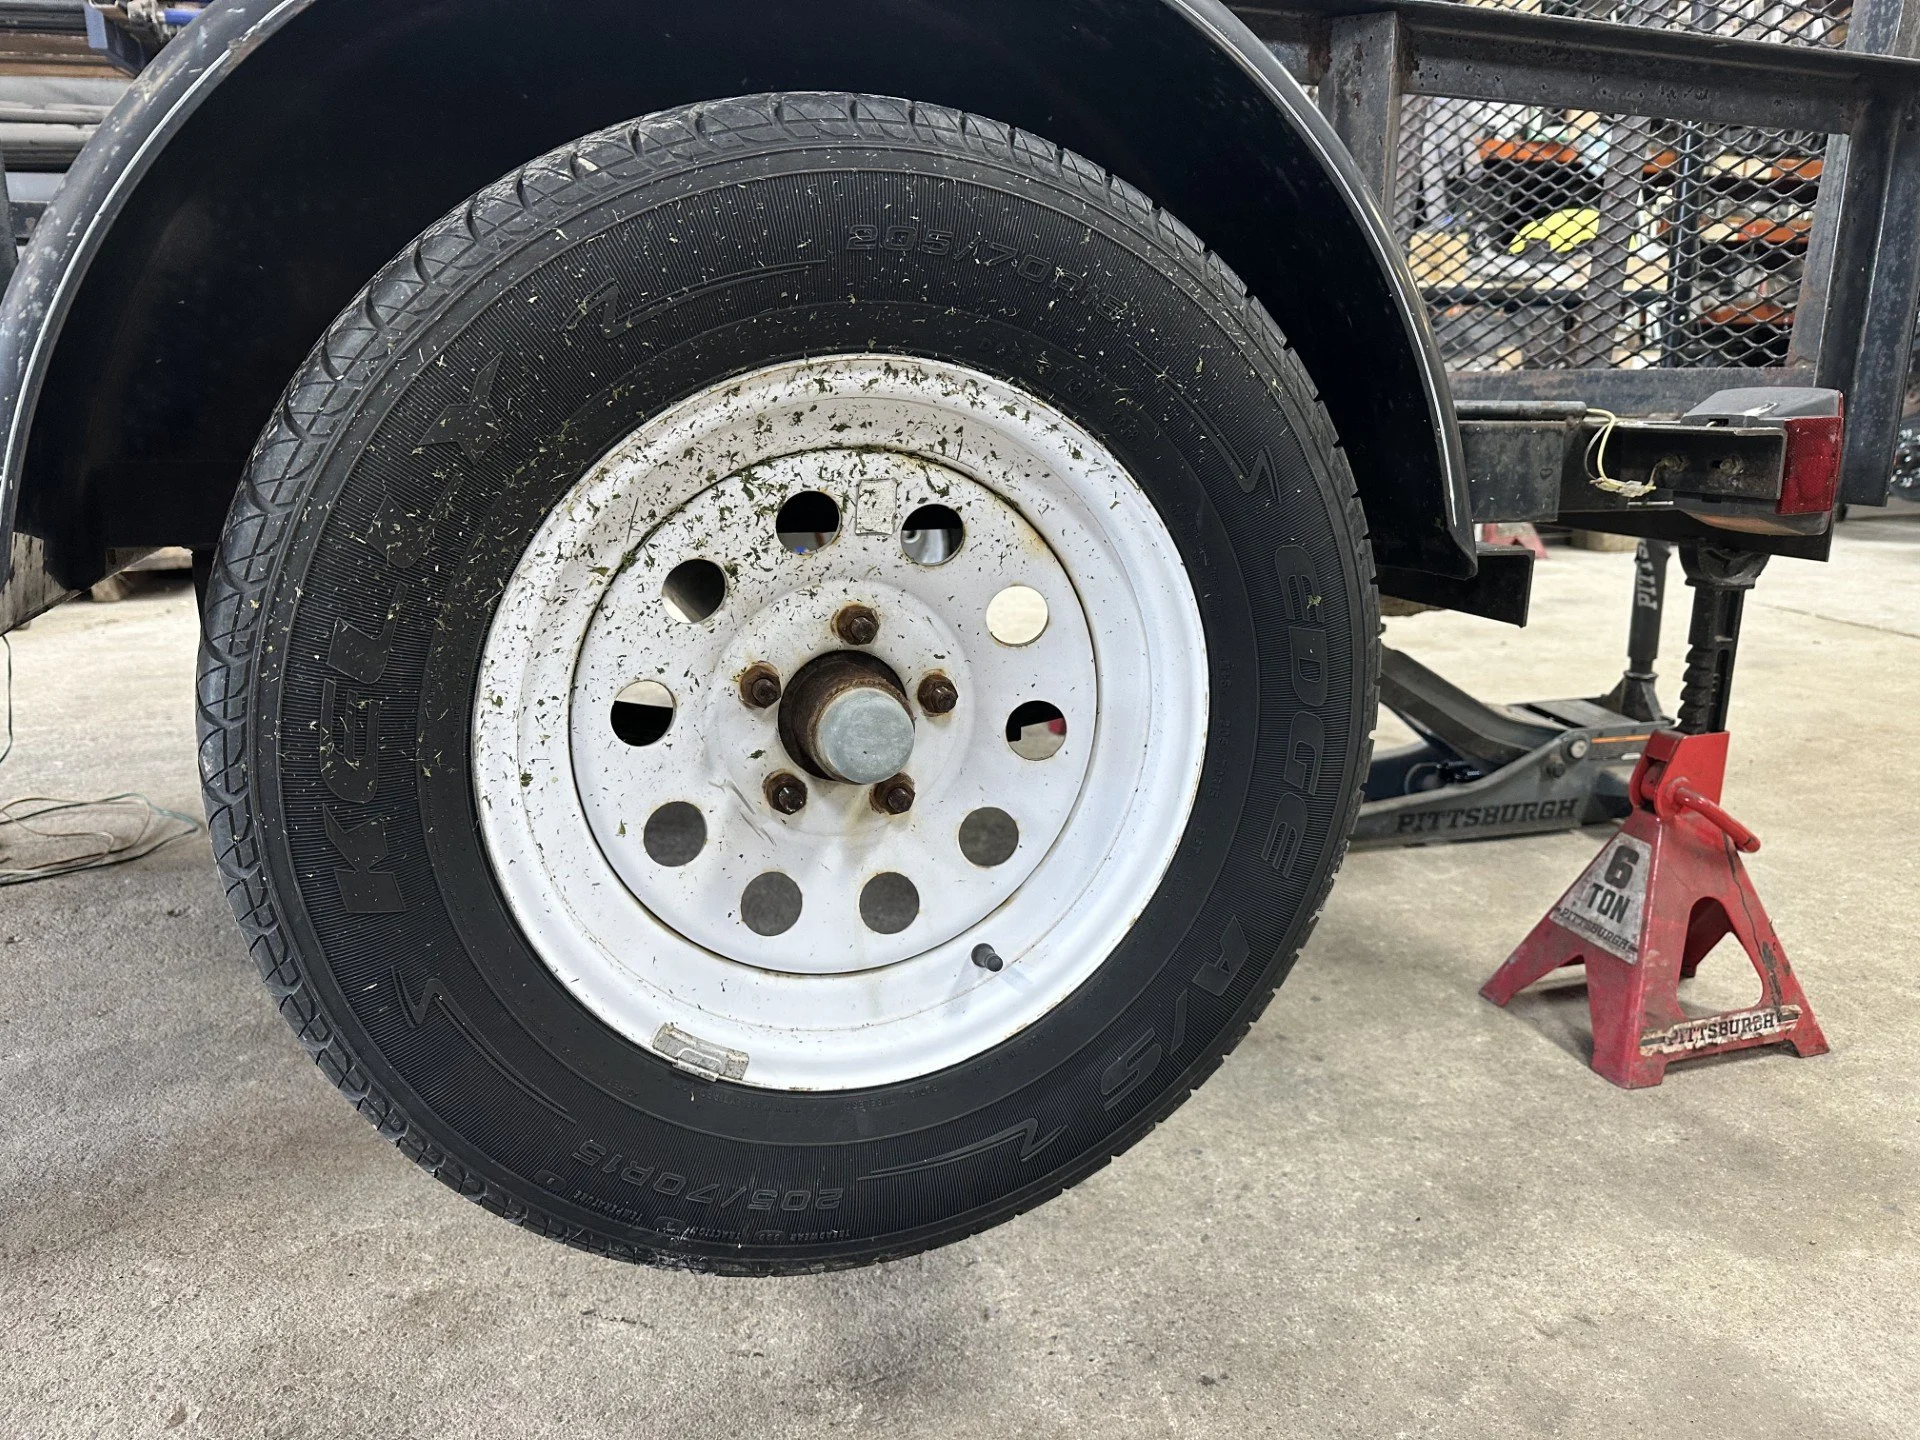
Securing trailer bearings.

Securing trailer bearings.
Step 2: Remove the Wheel
Finish removing the lug nuts and take the wheel off. Set the wheel aside where it will not roll or collect dirt on the mounting surface. This gives you access to the dust cap and hub assembly.
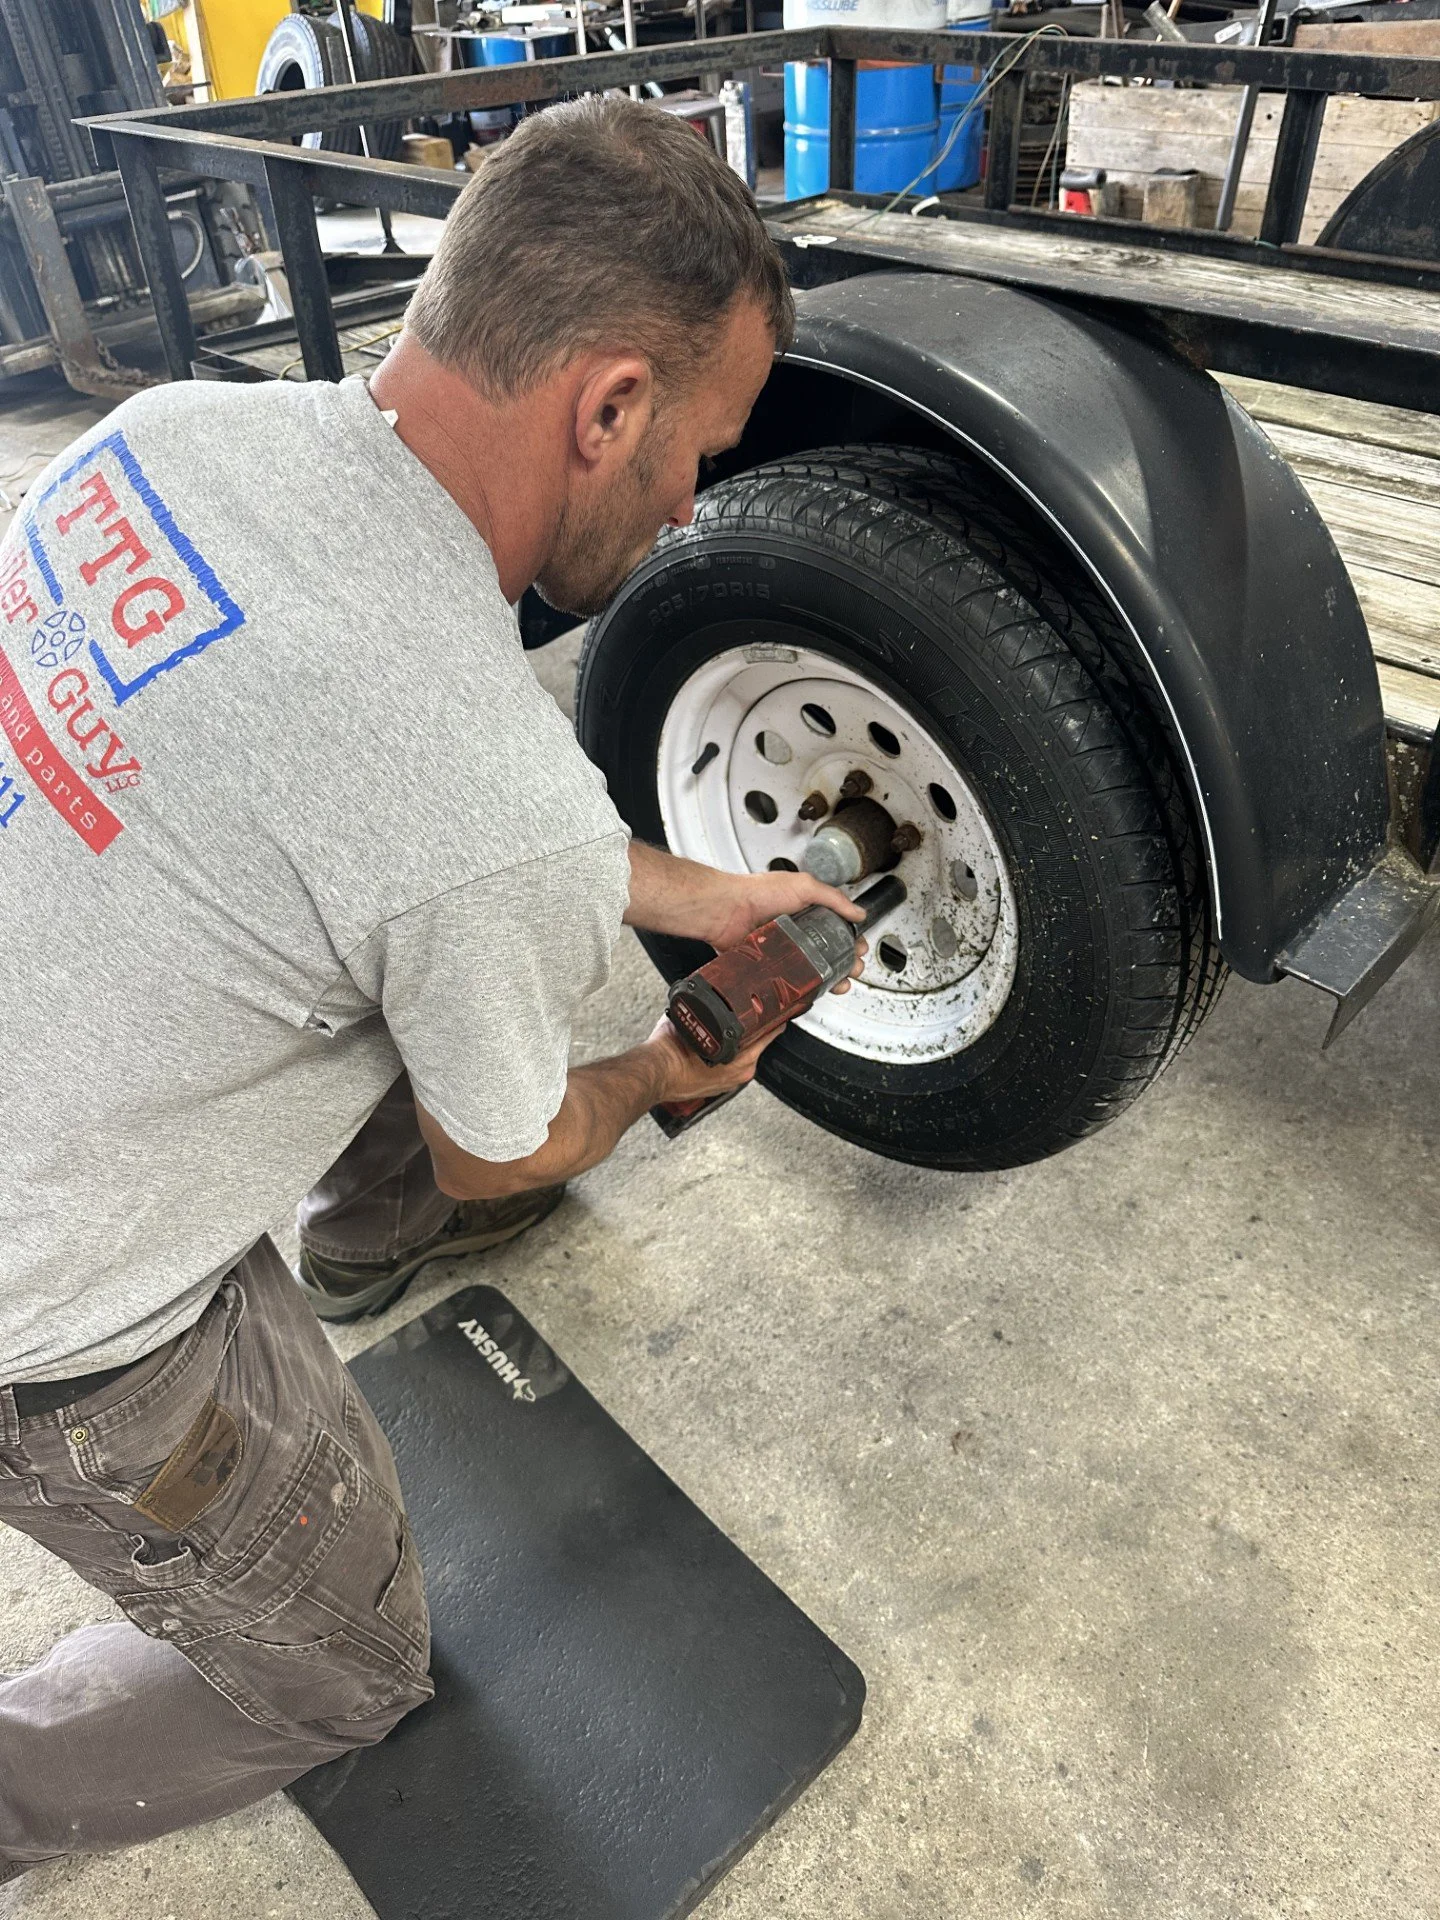
Removing trailer tire.
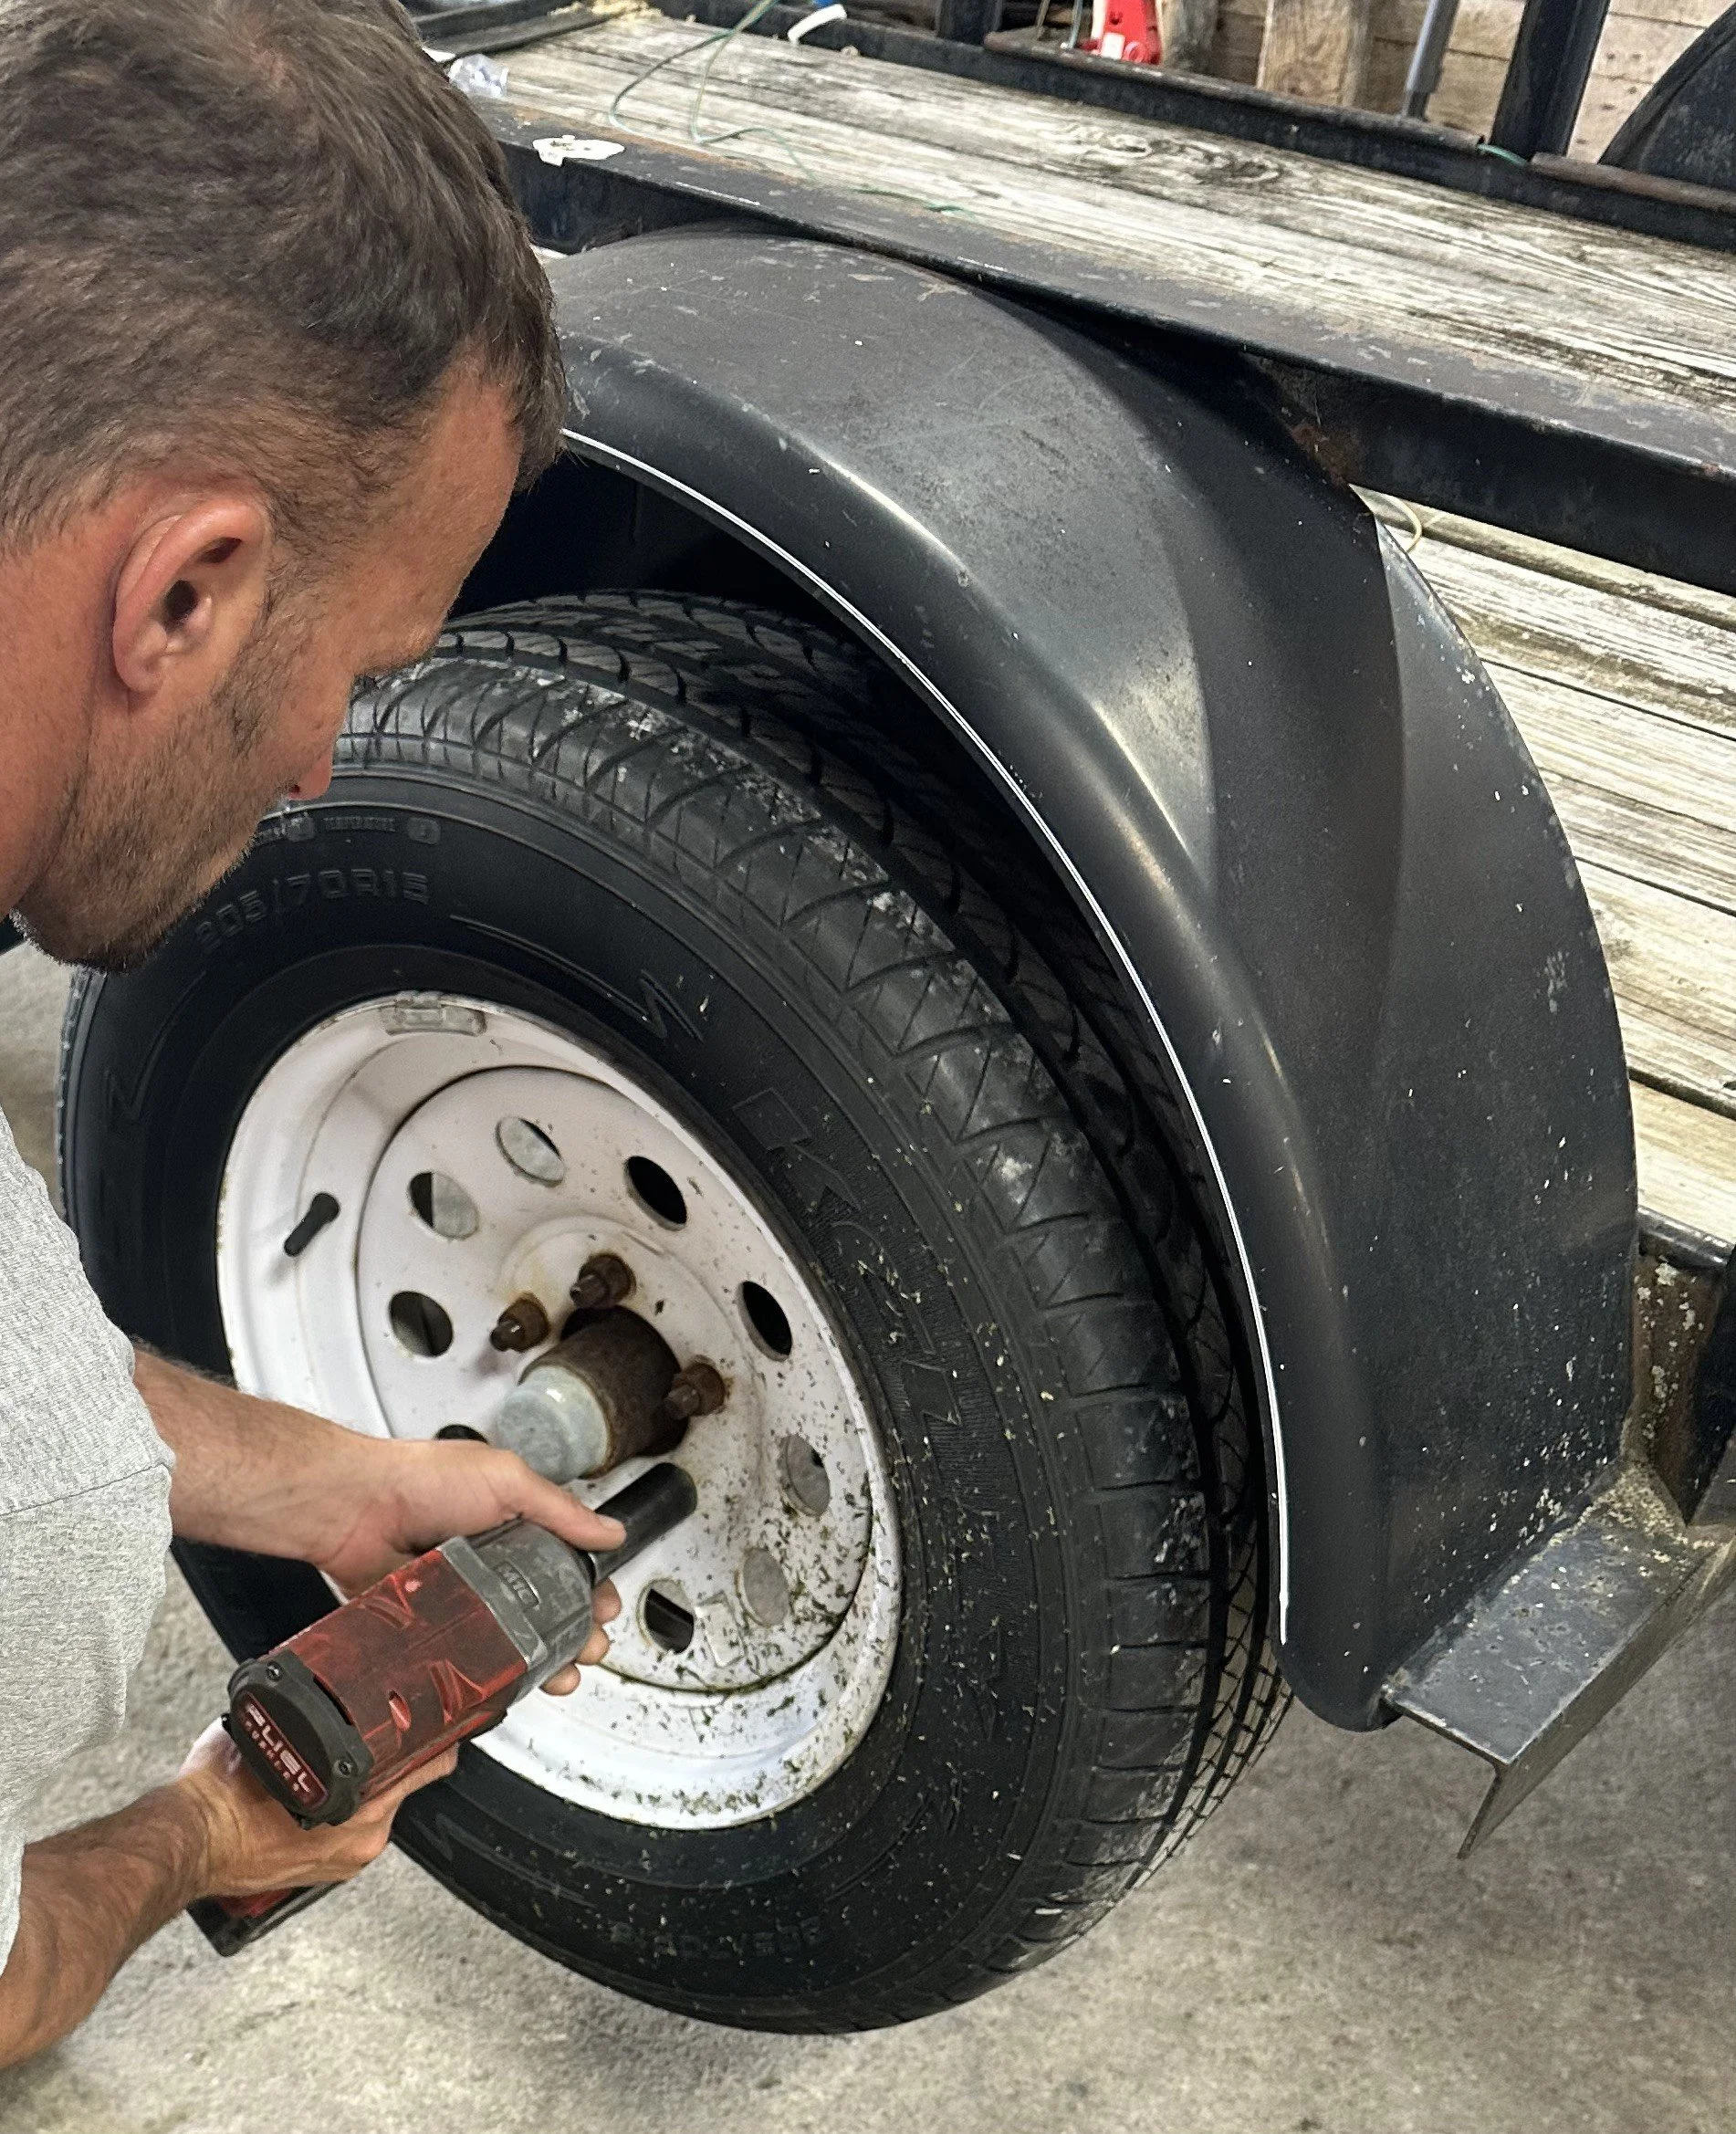
Removing trailer tire.

Removing trailer tire.
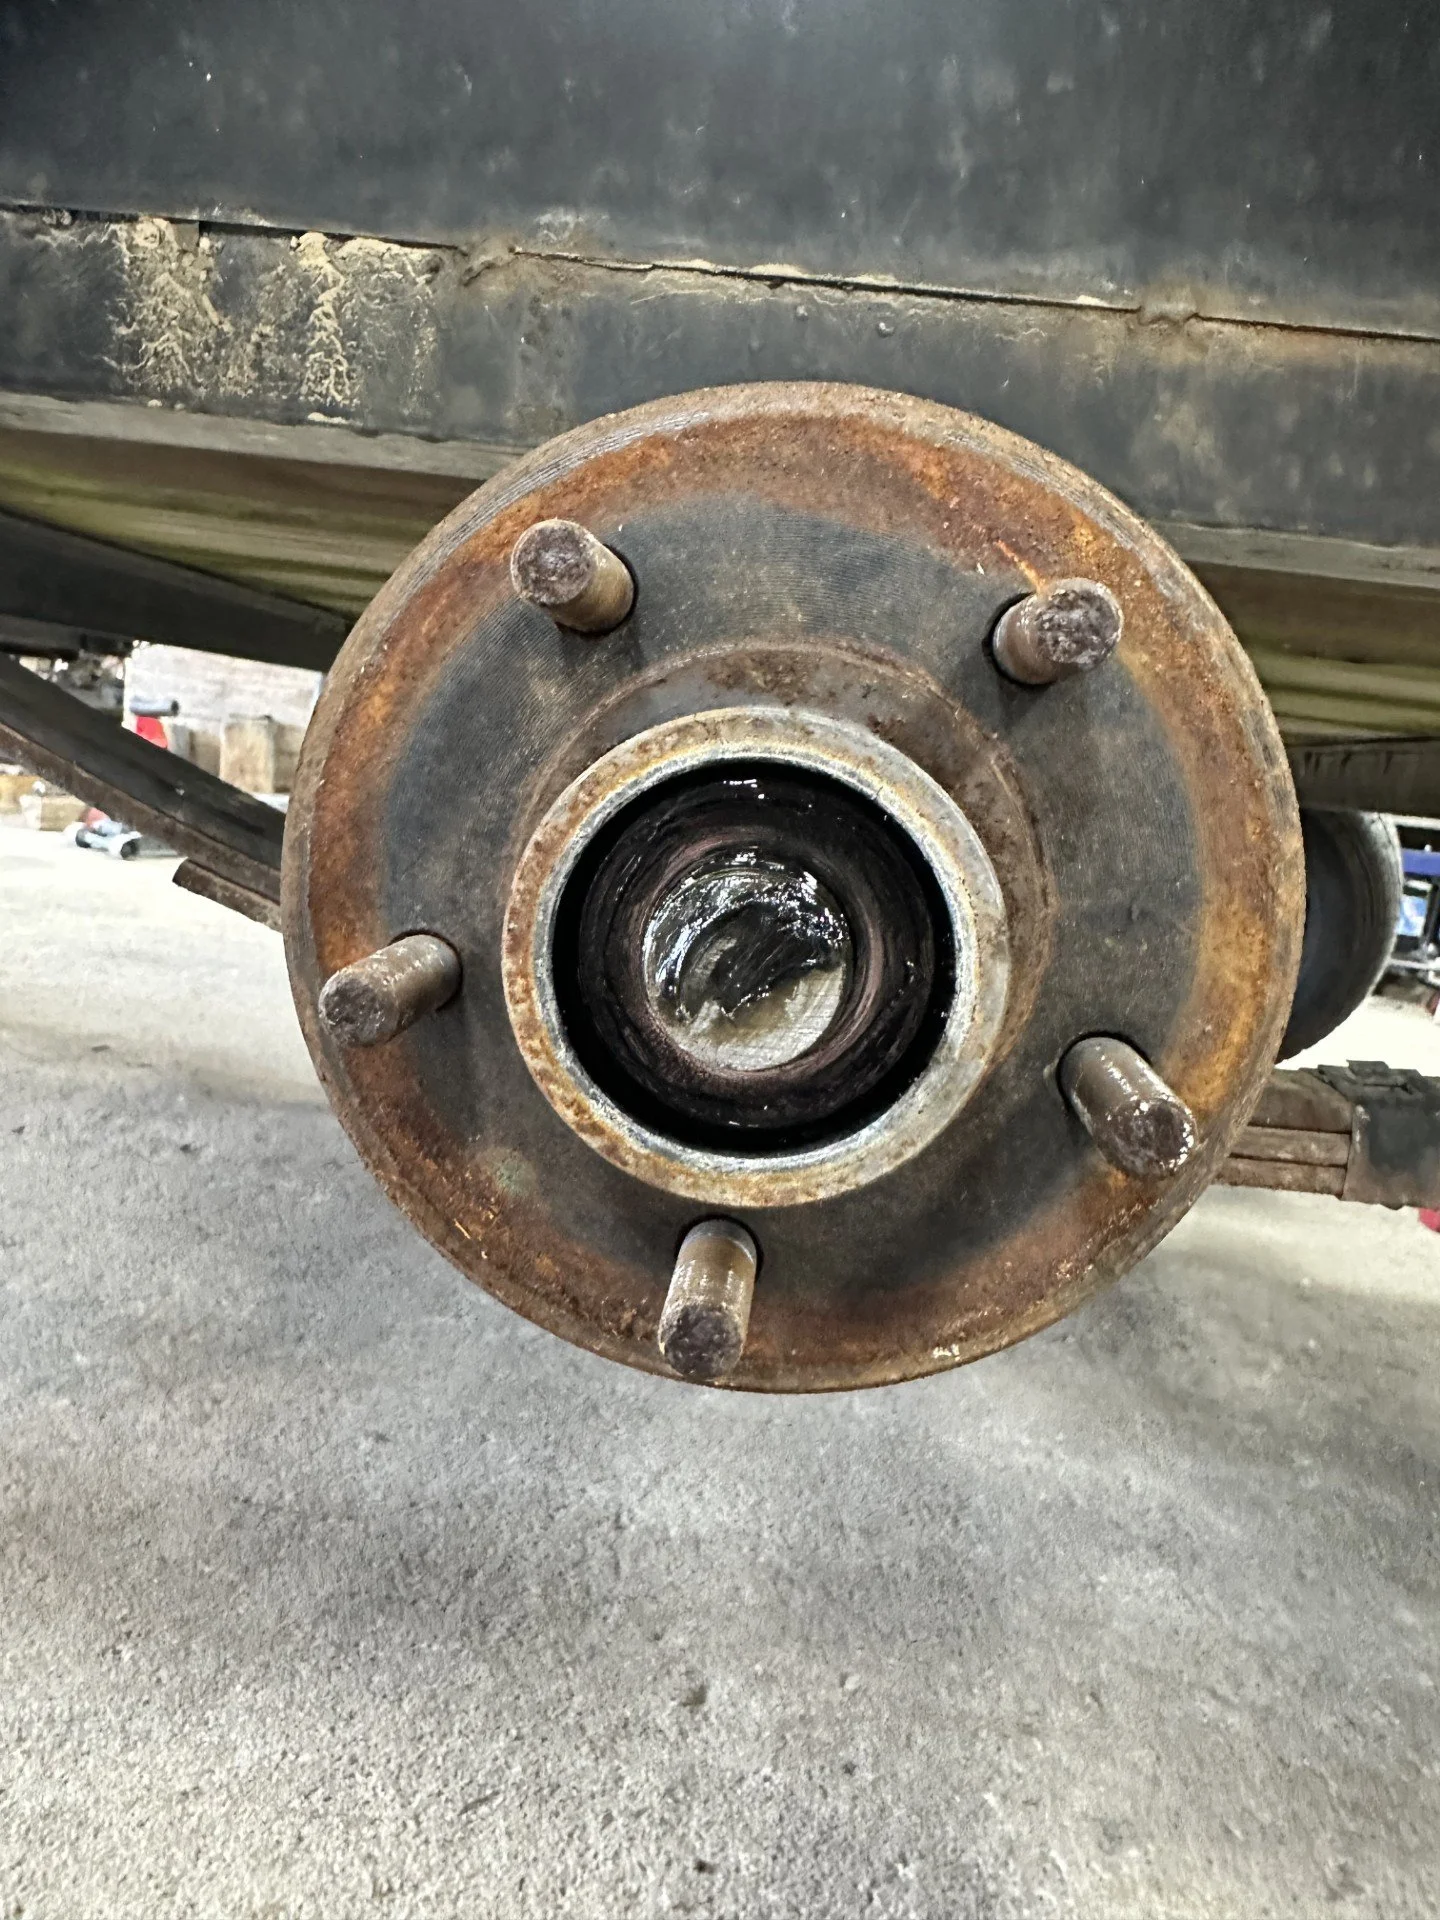
Step 3: Remove the Dust Cap
Carefully work the dust cap out of the center of the hub. Do this gently to avoid damaging parts you may be reusing. Once the cap is removed, you will be able to see the spindle nut retainer, such as a cotter pin or retainer clip.
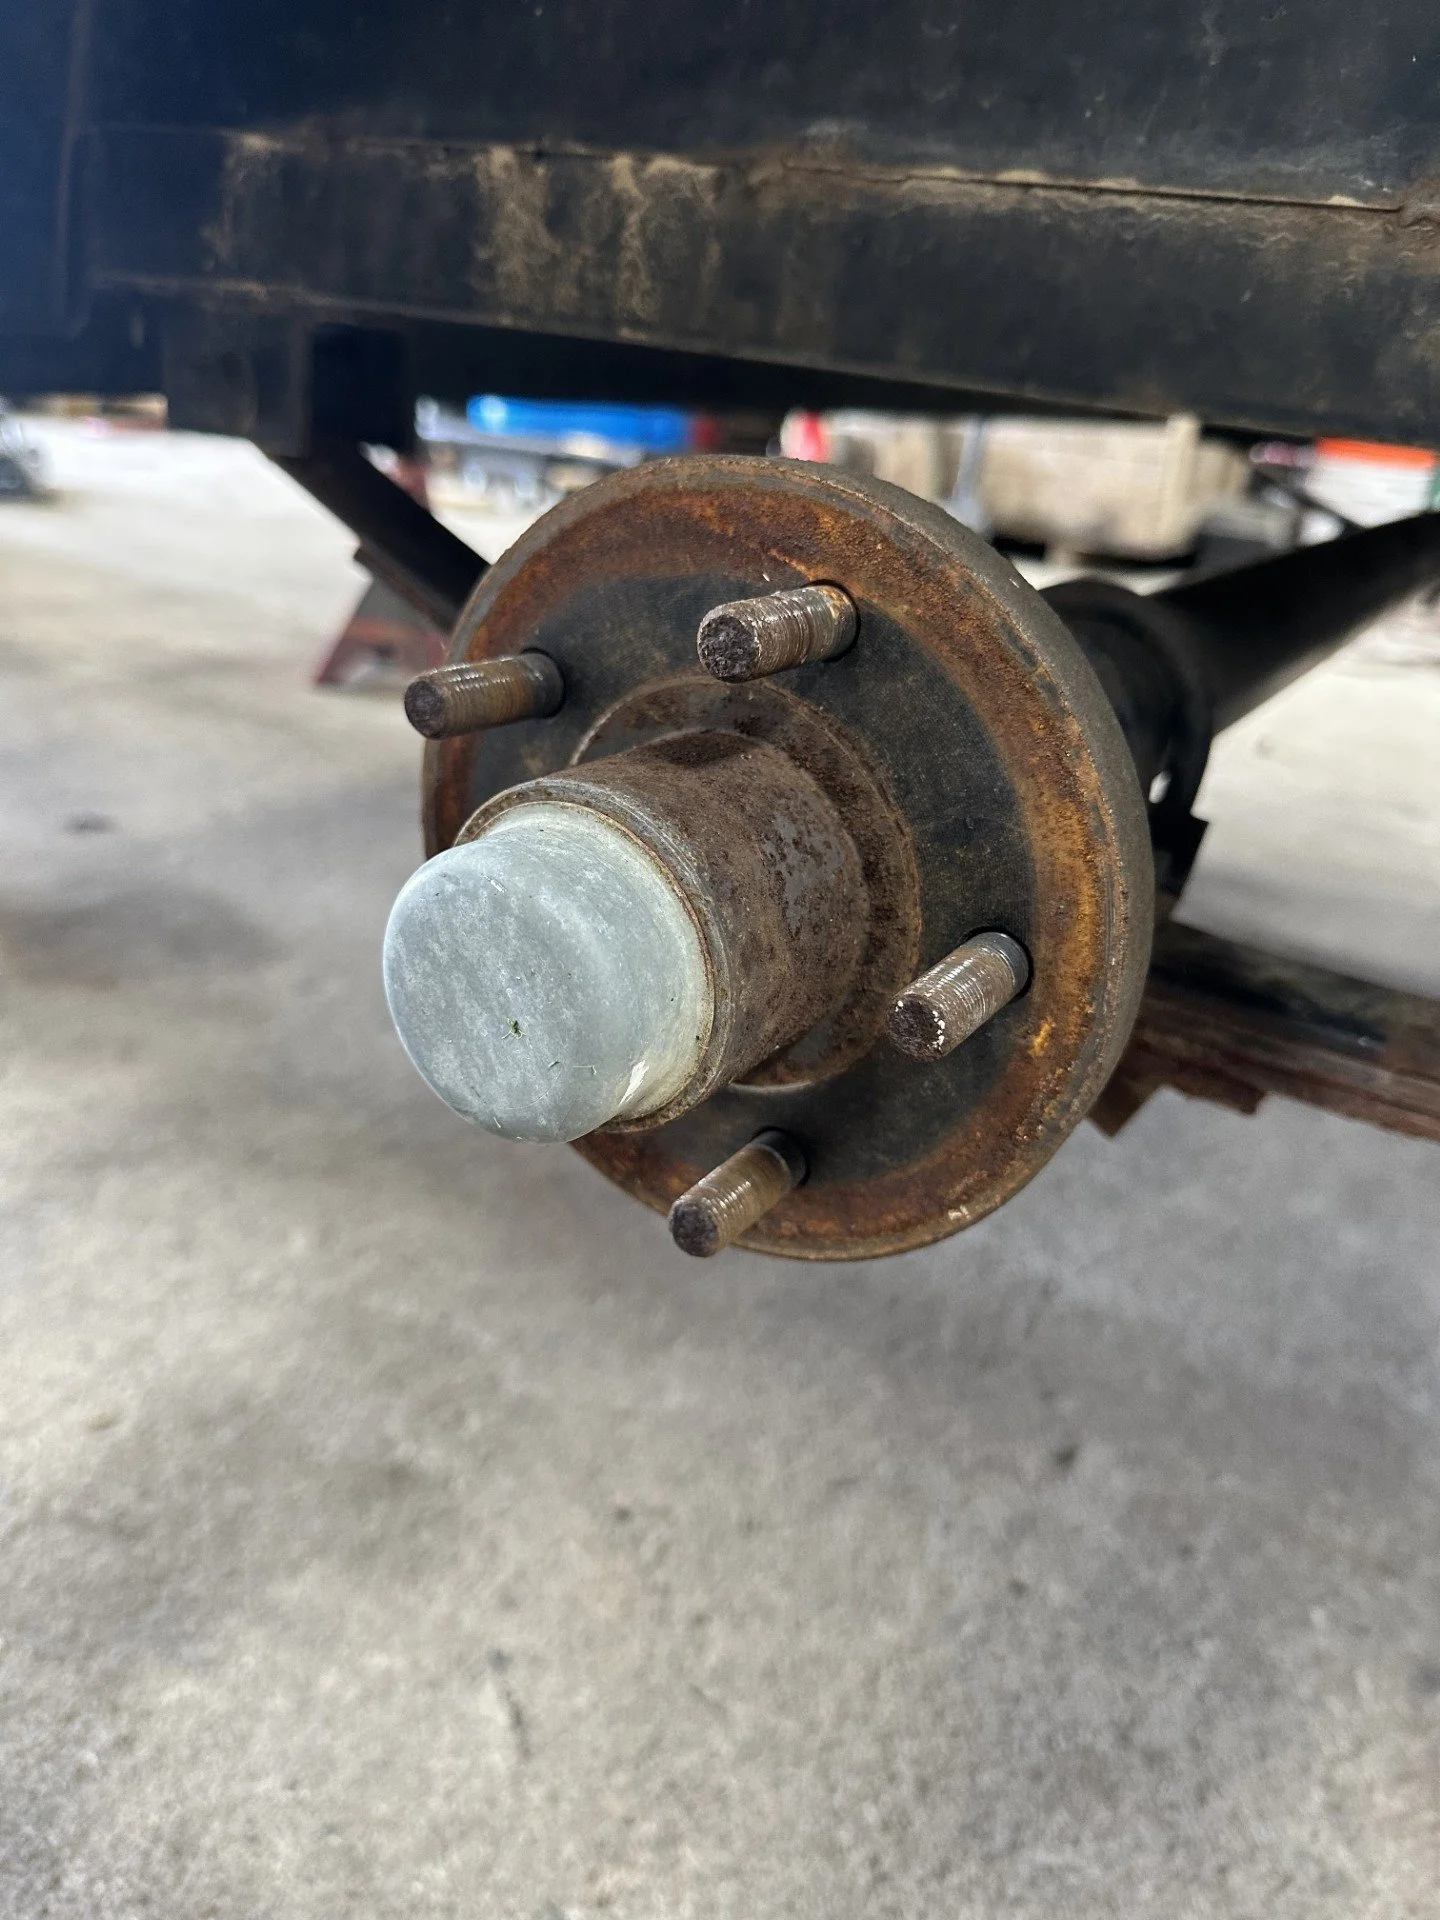
Image shows the dust cap.
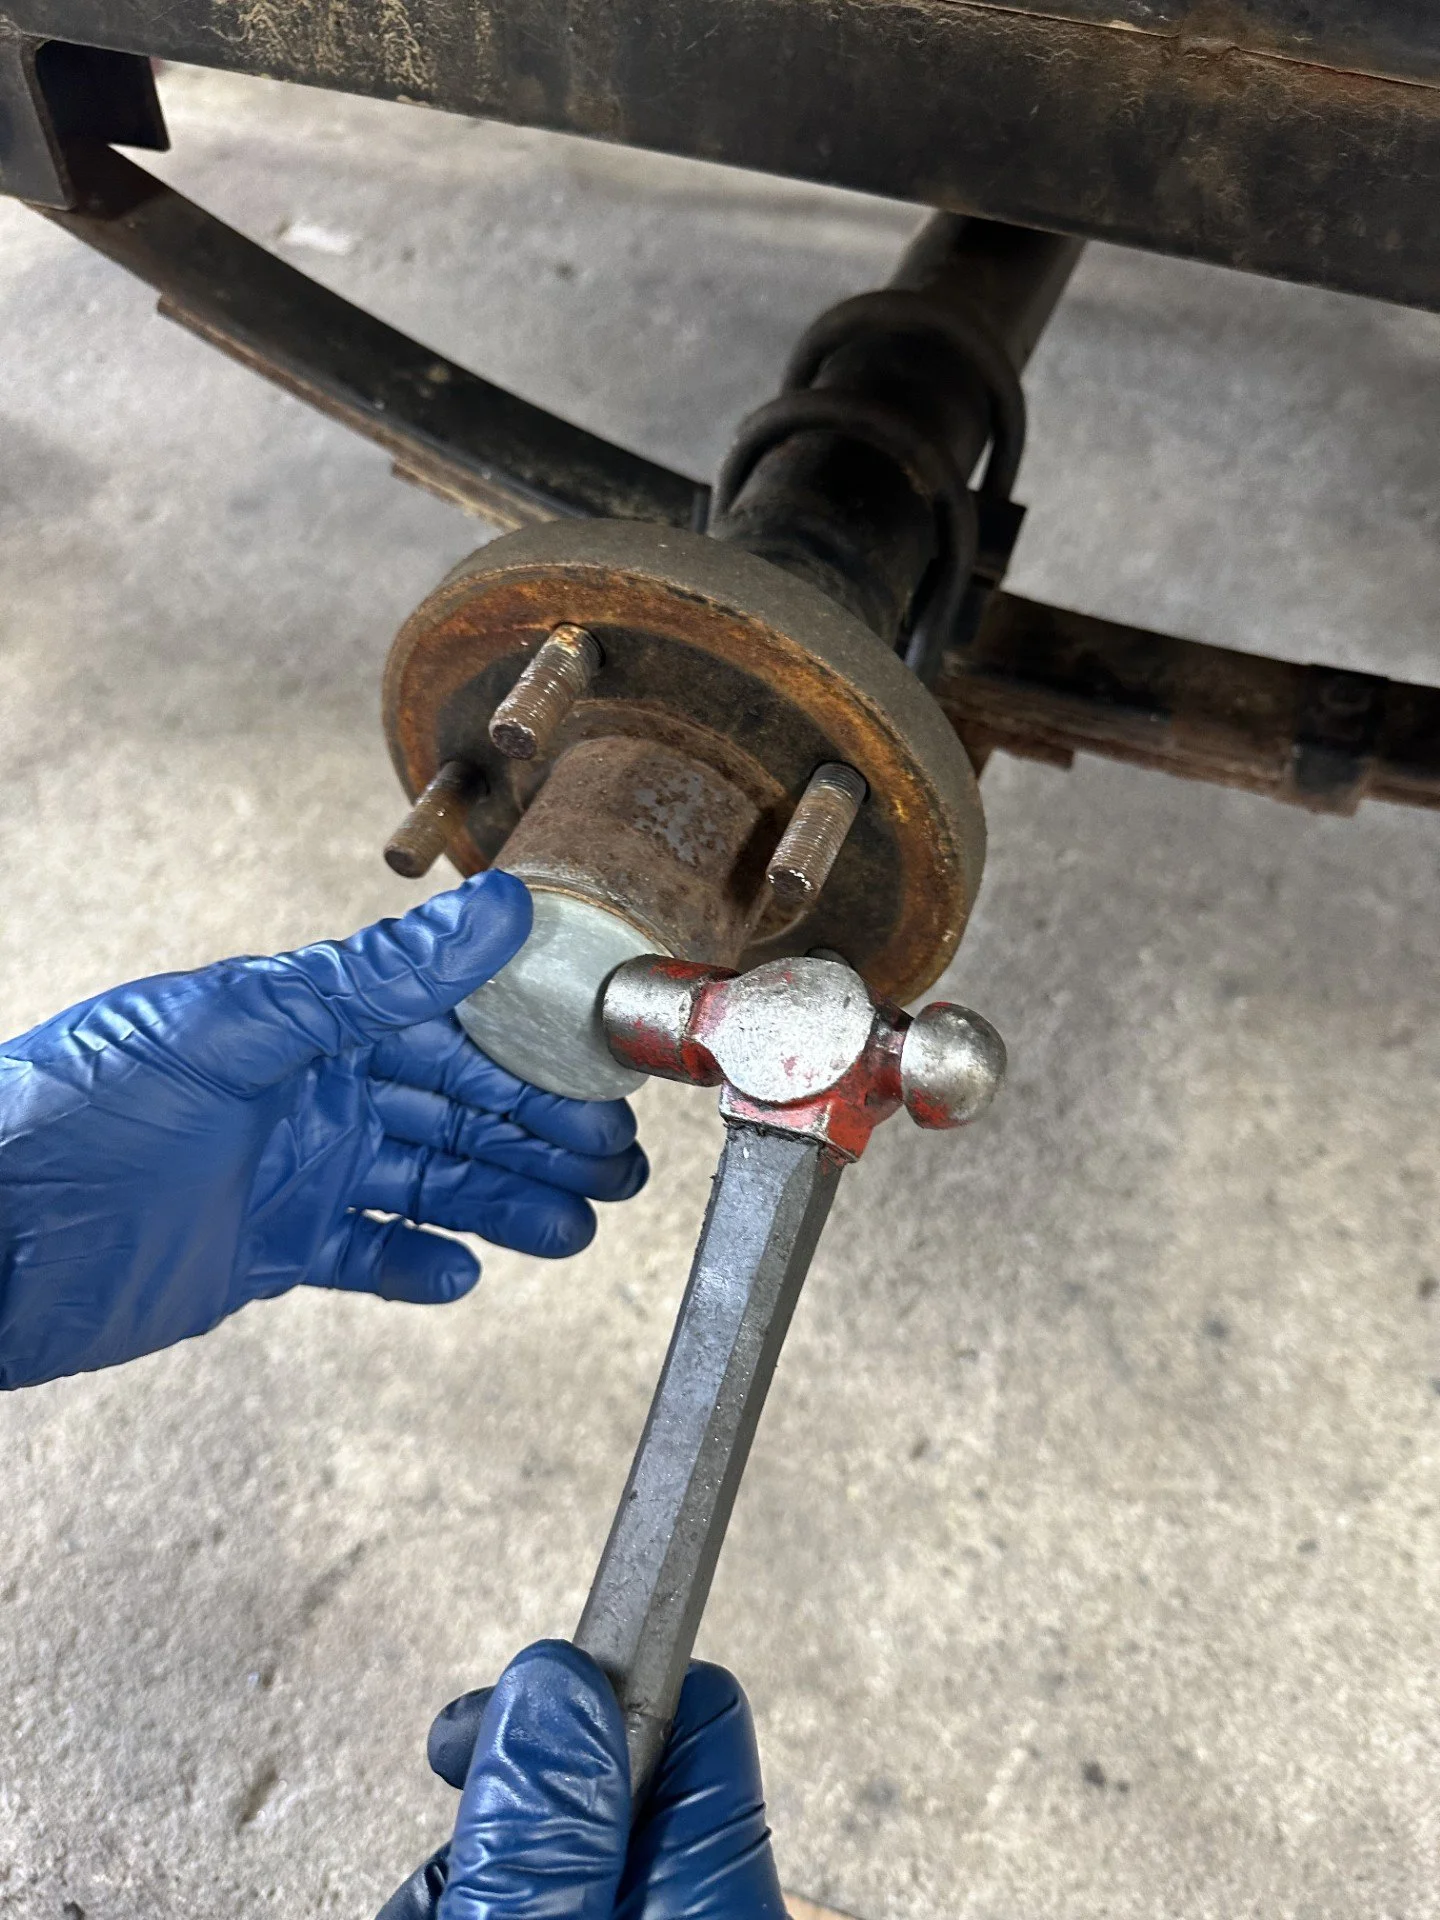
Image shows someone removing the dust cap.
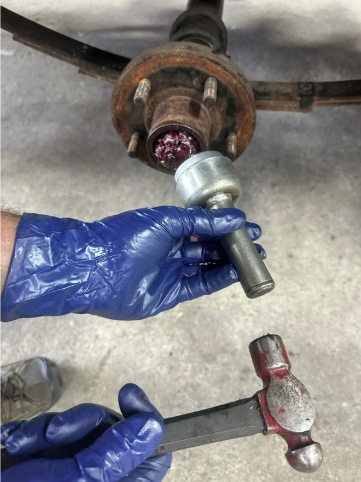
Step 4: Remove the Retainer and Spindle Nut
Remove the cotter pin or retainer, then take off the spindle nut and washer. Keep the parts in order as they come off so reassembly is easier. On many trailer hubs, the outer bearing can then be removed from the front of the hub.
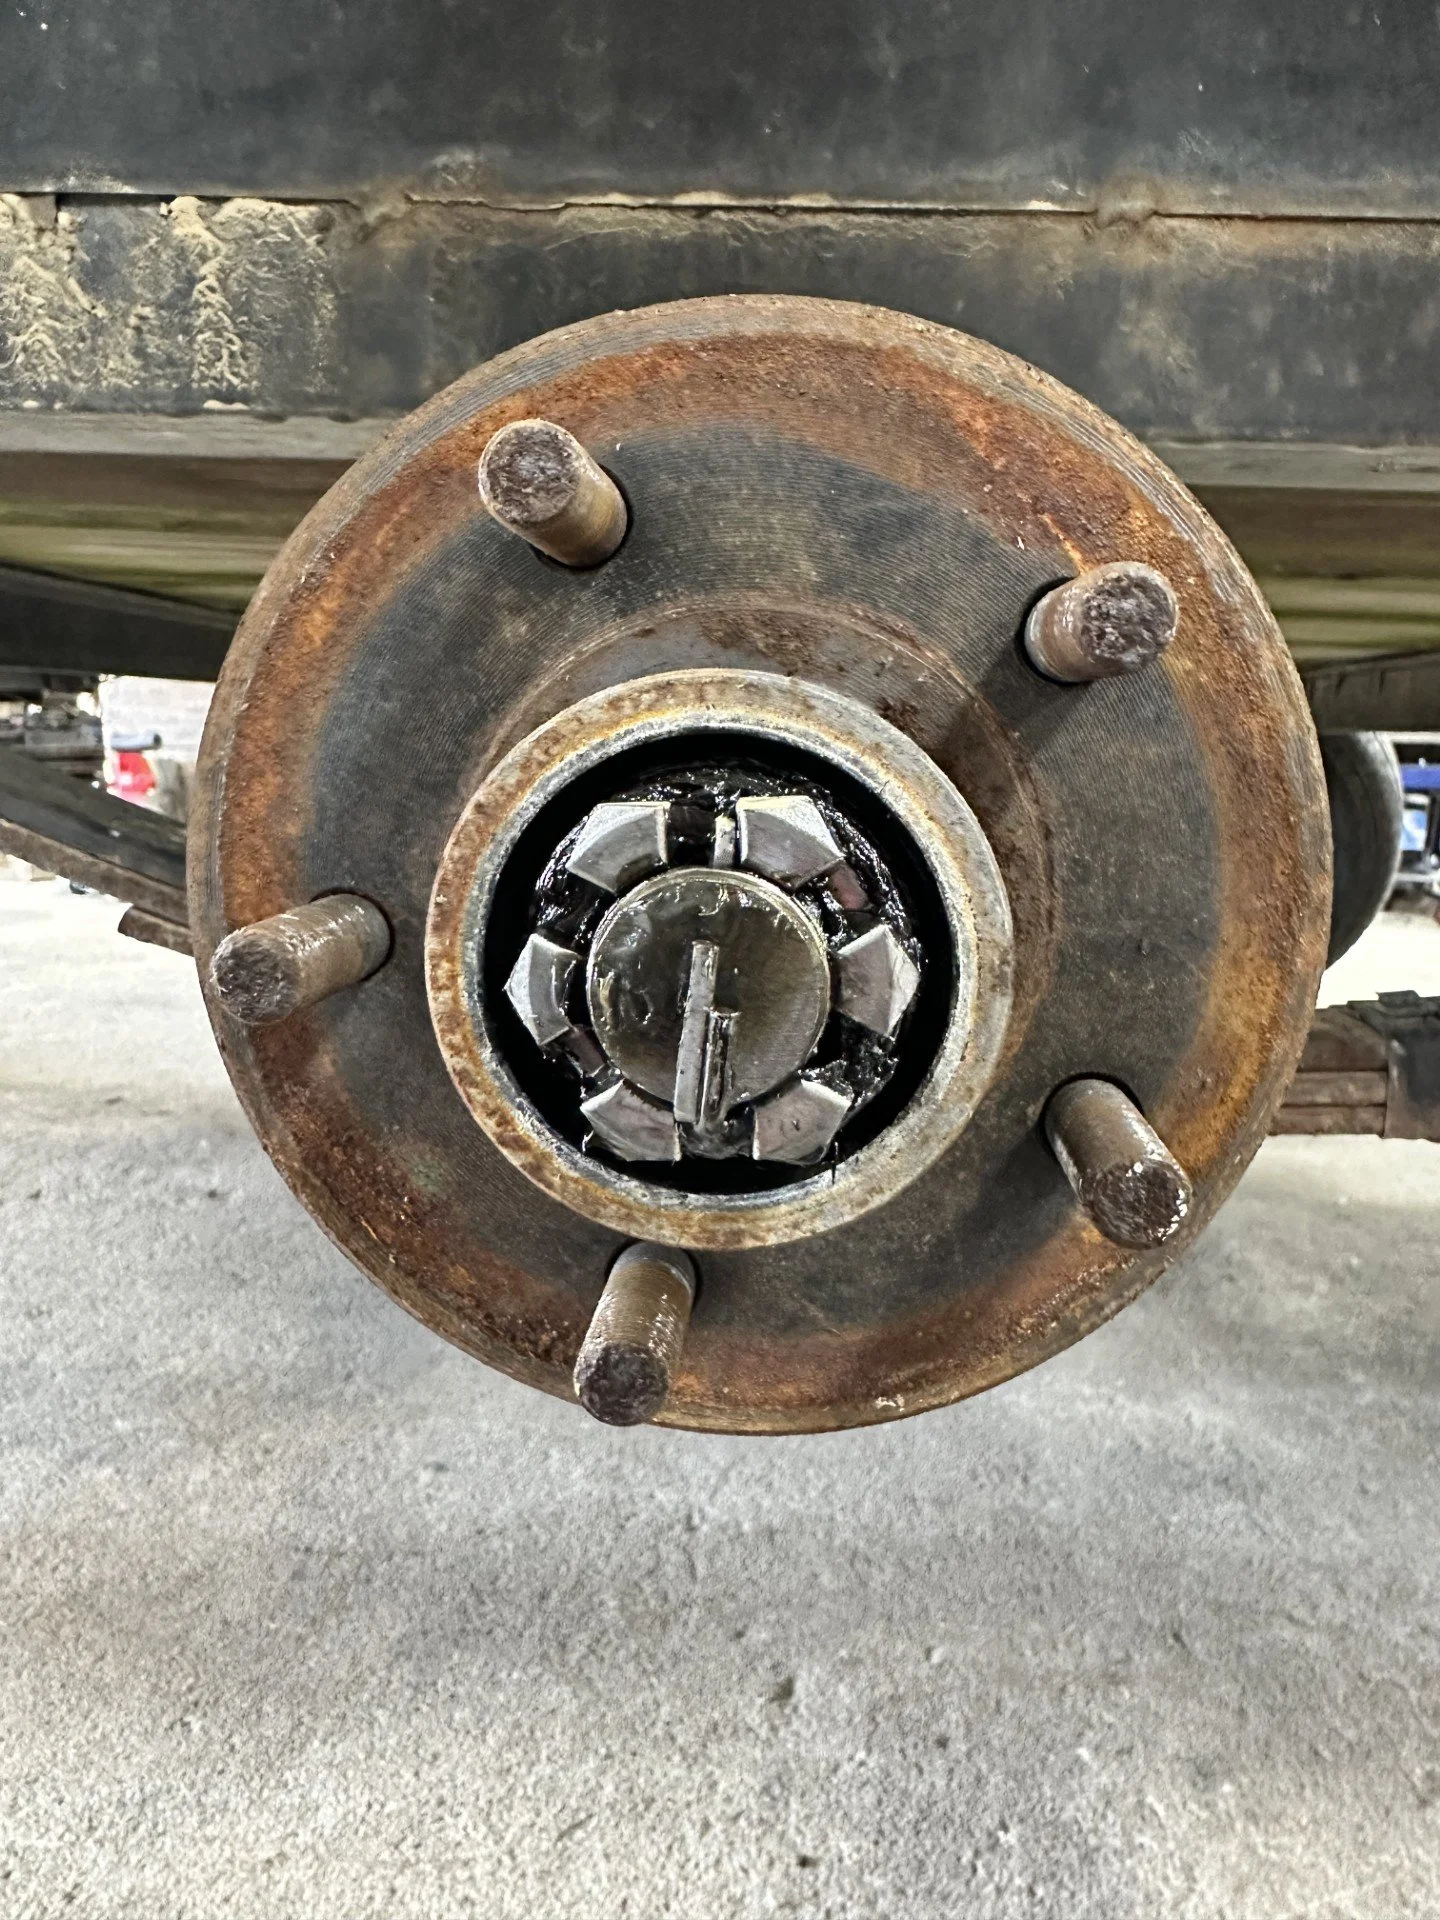
Image shows that once the dust cap is off, it reveals the cotter pin and spindle nut.
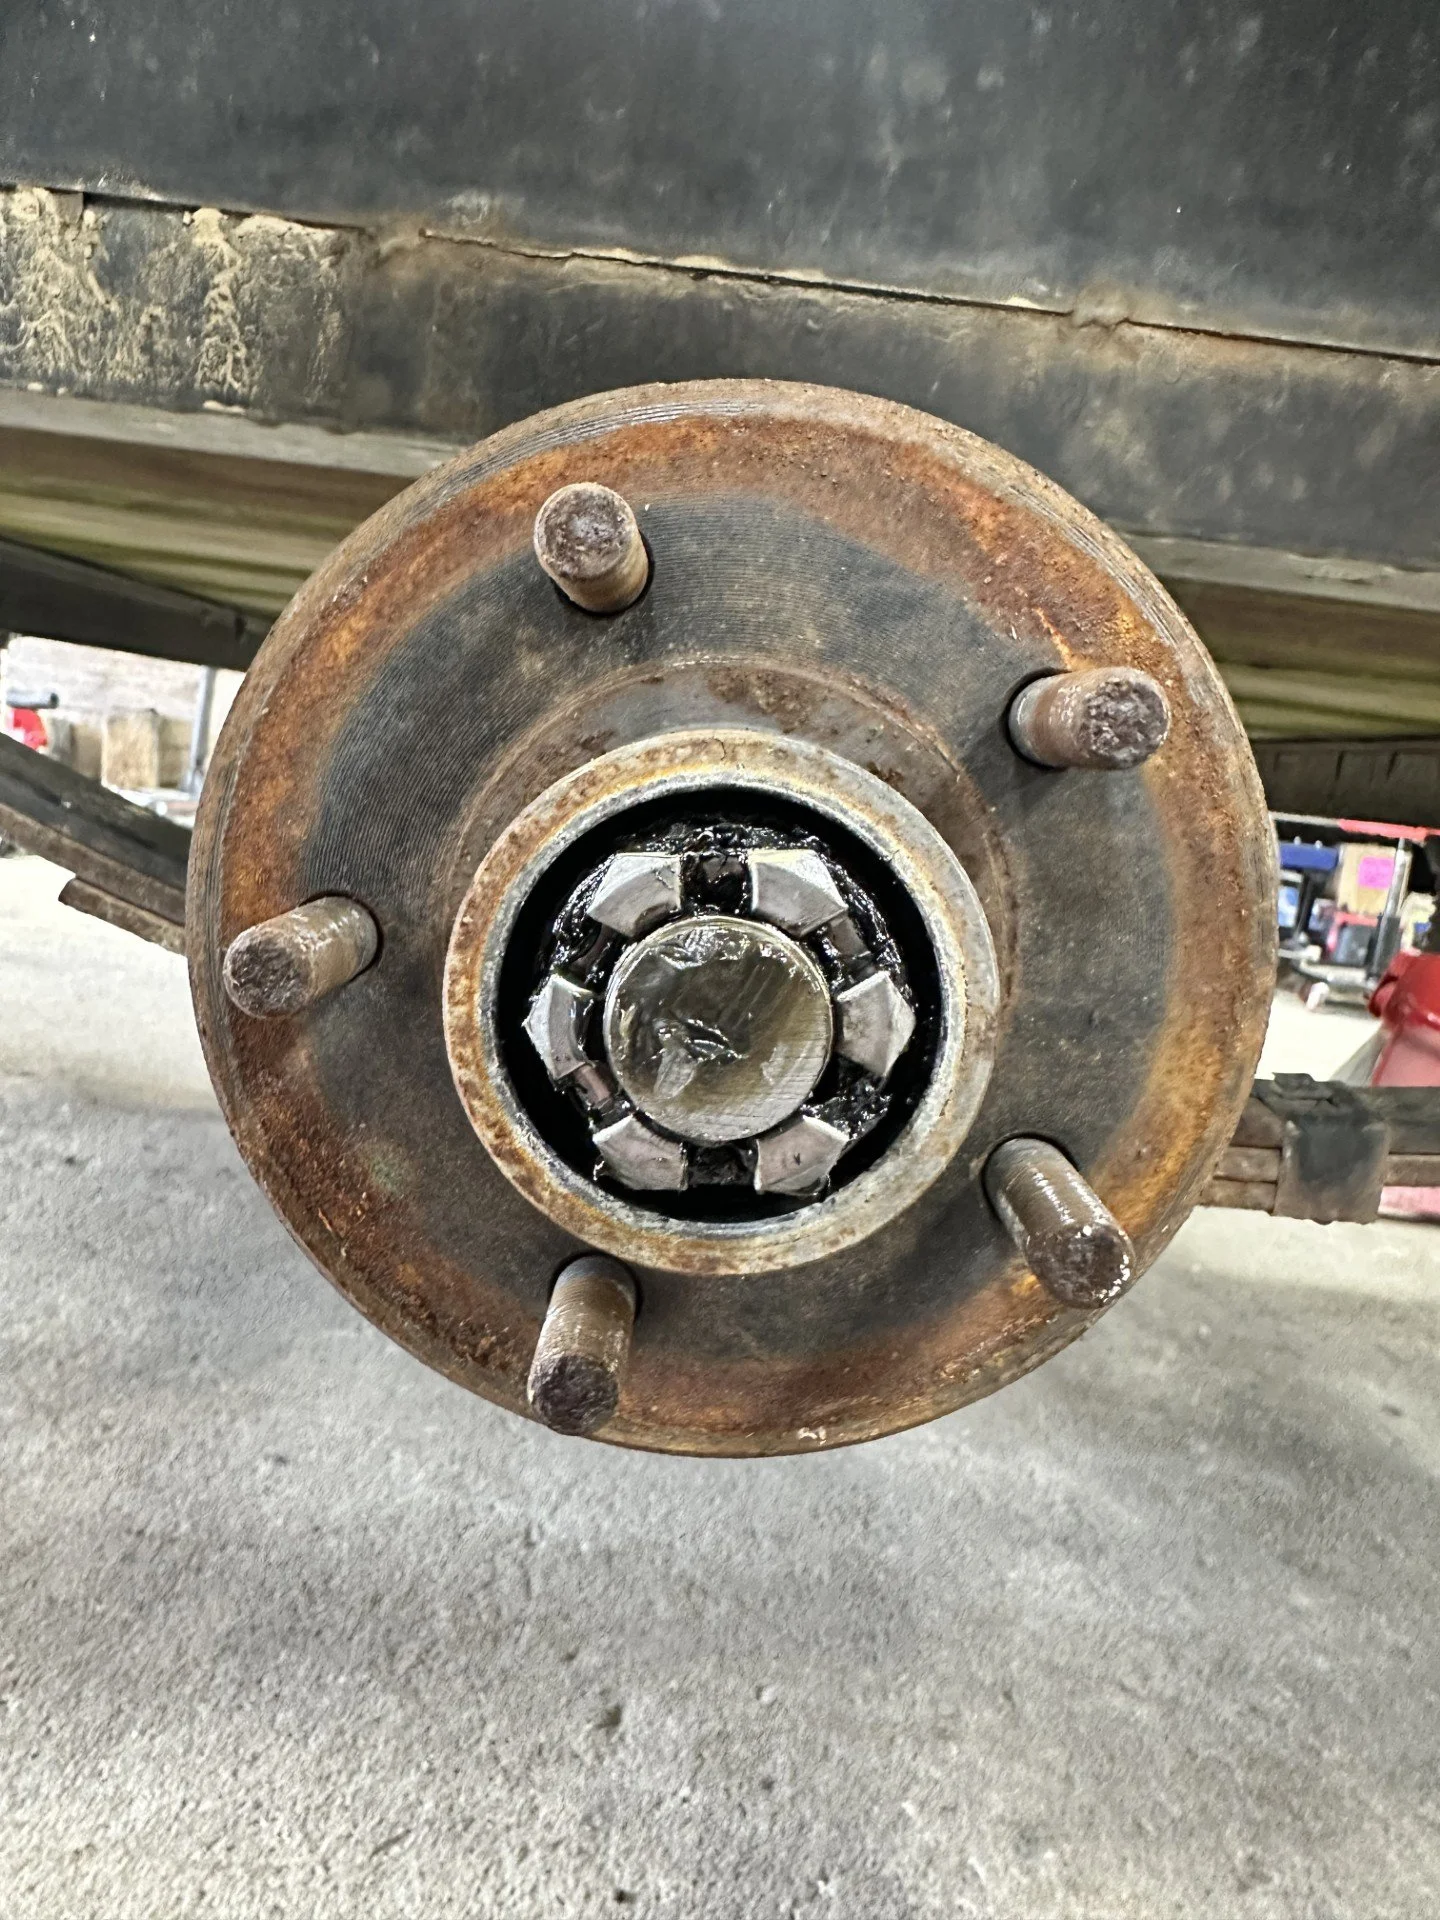
This image shows once cotter pin is removed.
This image shows what it looks like once the spindle nut is removed.
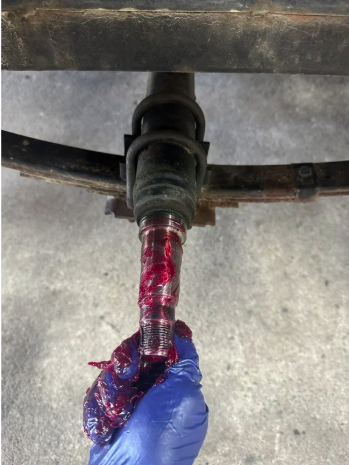
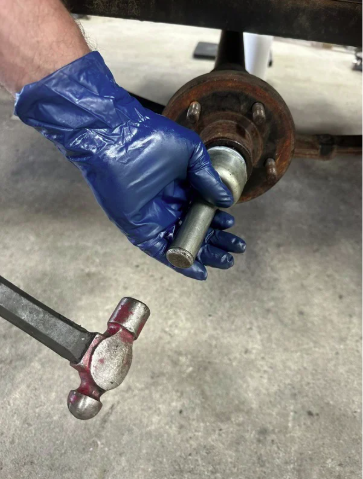
Step 5: Slide the Hub Off the Spindle
Carefully pull the hub straight off the spindle. Be ready to support its weight so it does not drop or drag across the spindle threads. Once the hub is off, set it on a clean surface. The inner bearing will usually still be held in place by the grease seal at the back of the hub.
If the hub does not slide off with reasonable effort, do not force it. Excessive force can damage the spindle or other components. At that point, to stop further damage, professional service is recommended.
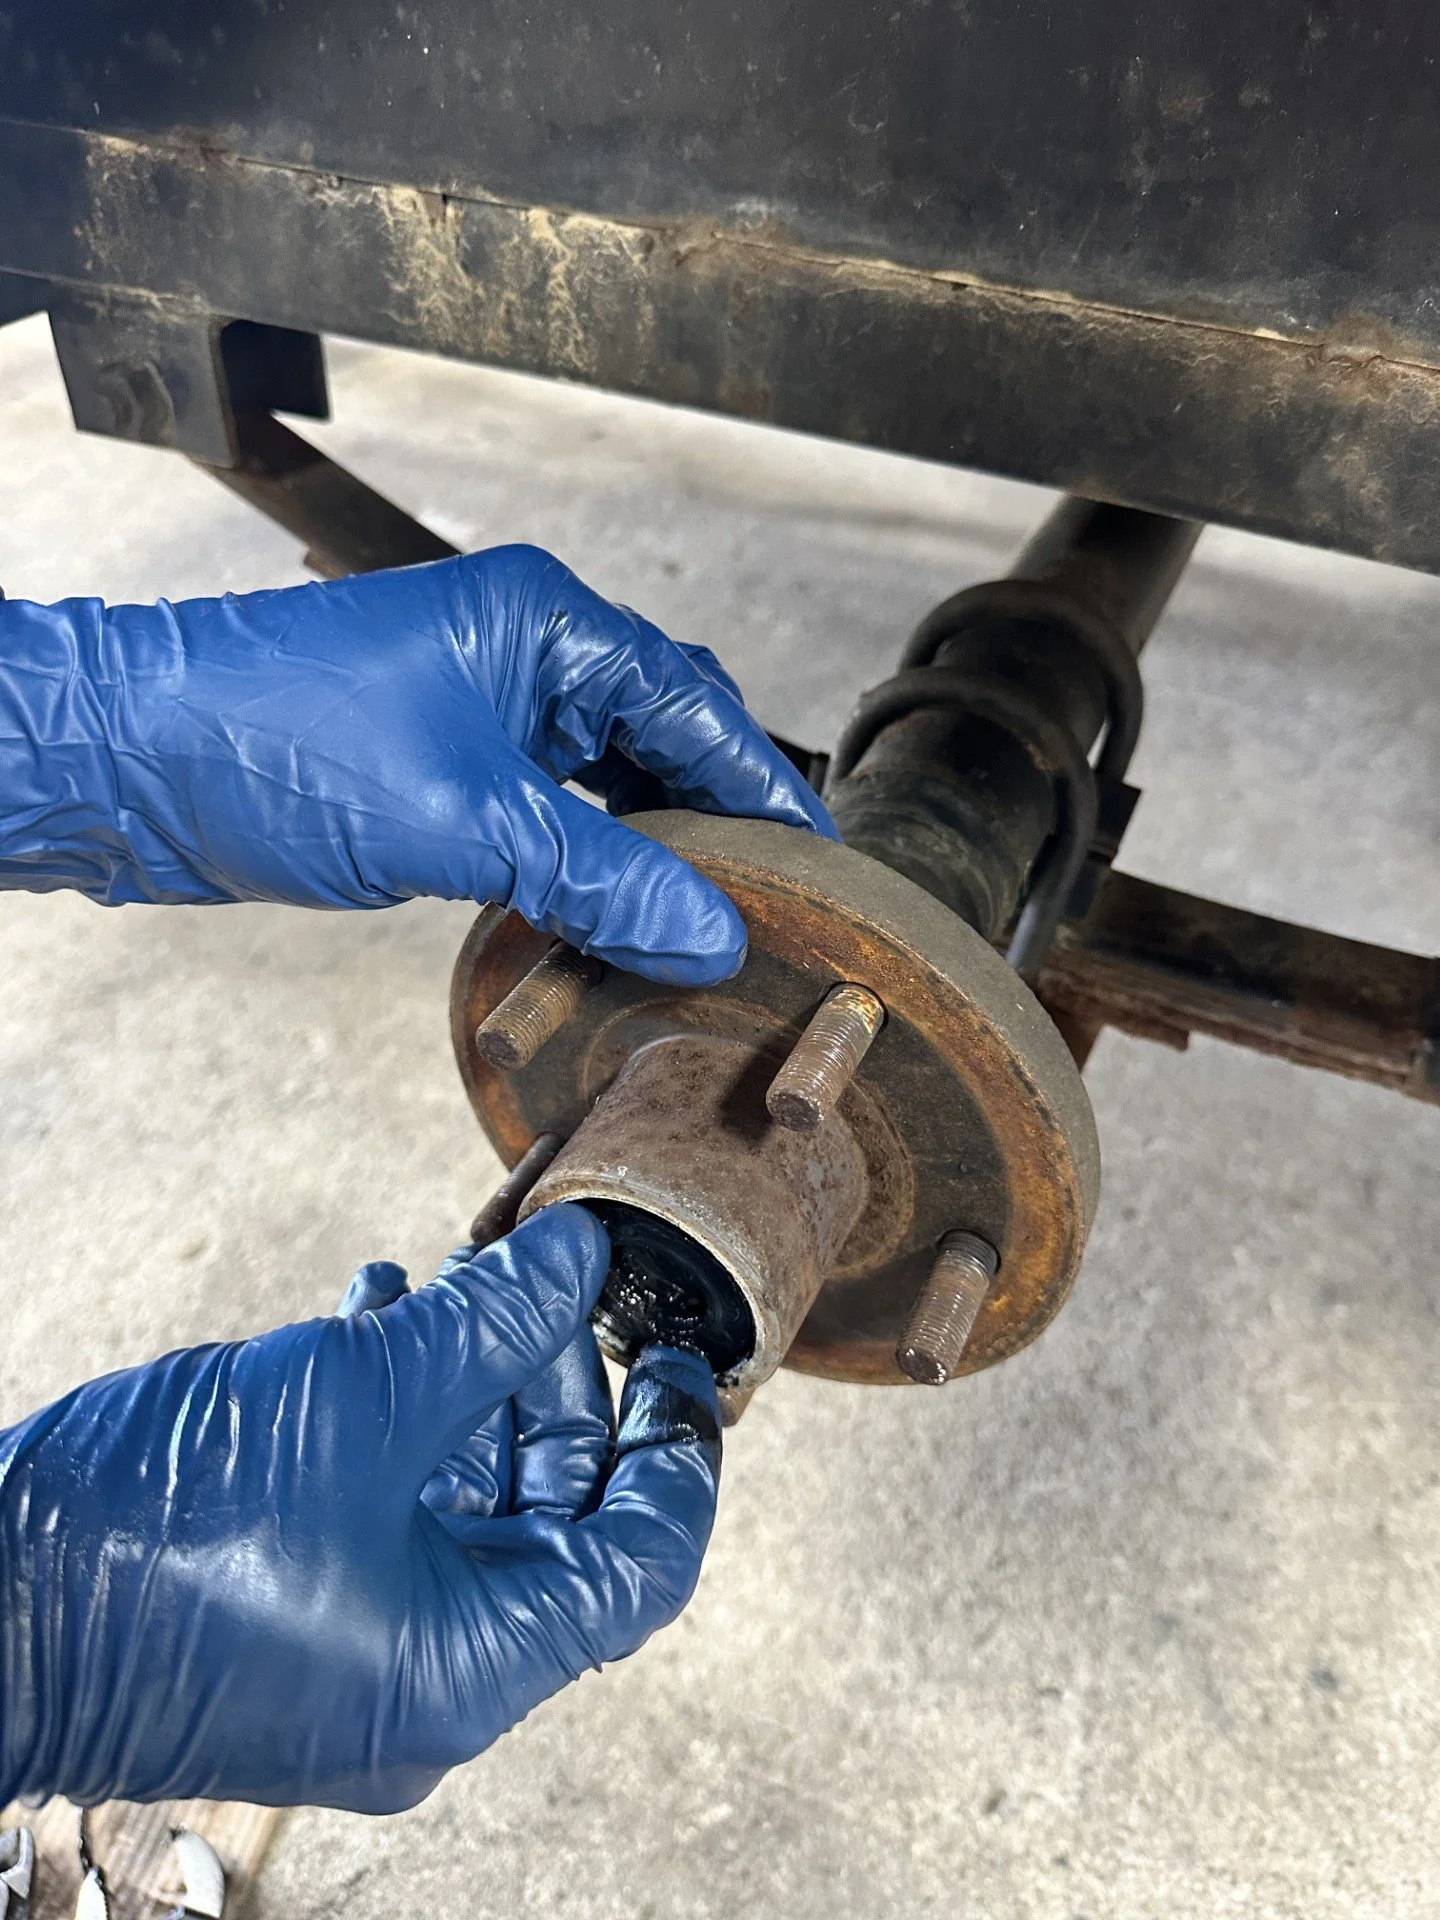
Image shows removing the hub.
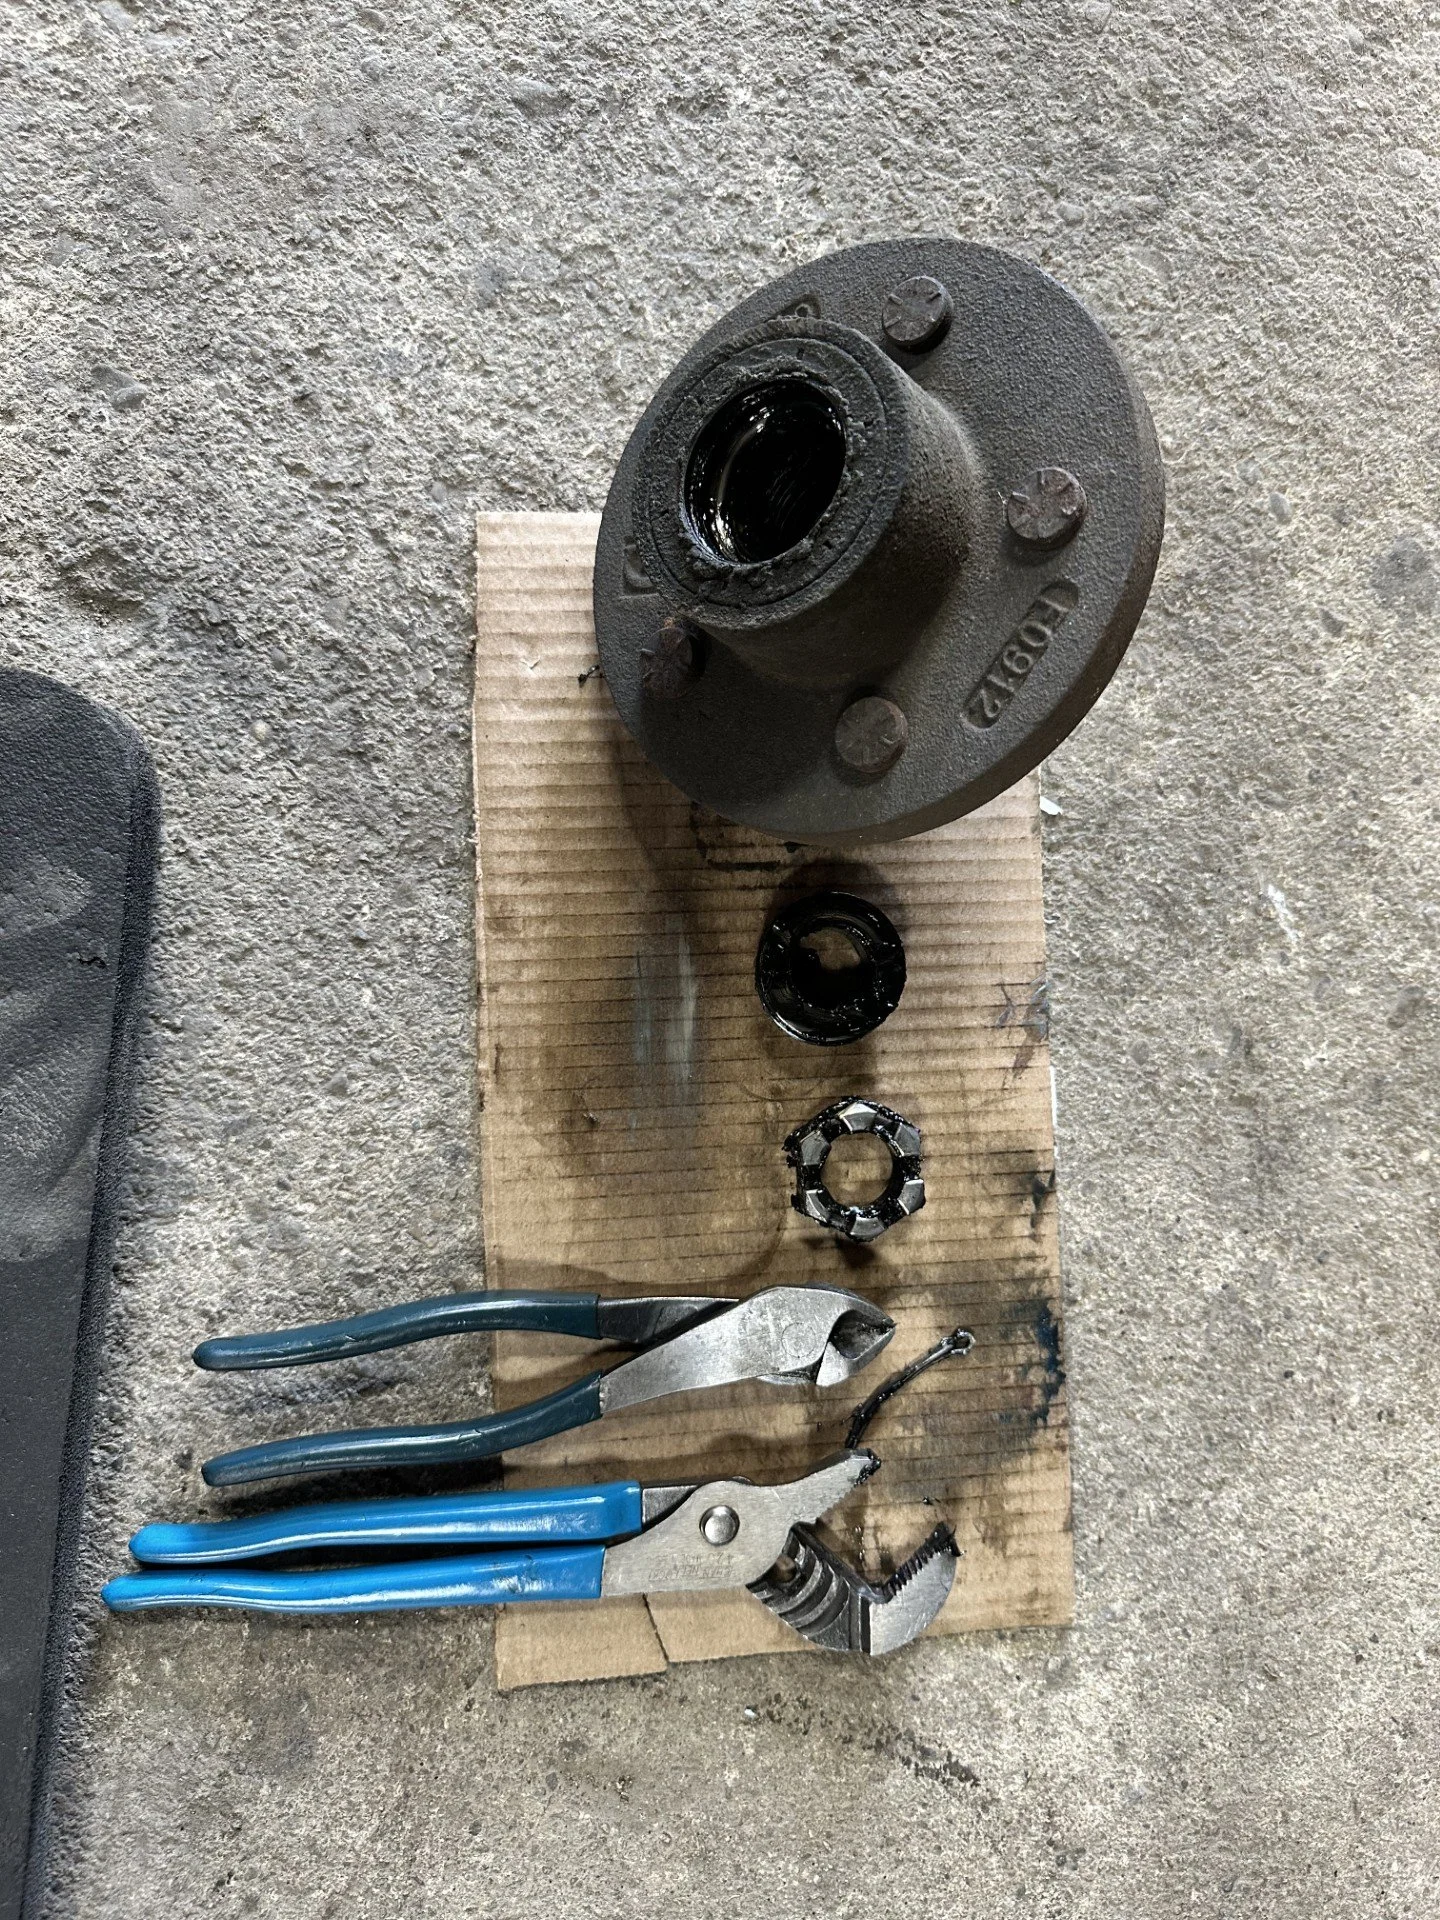
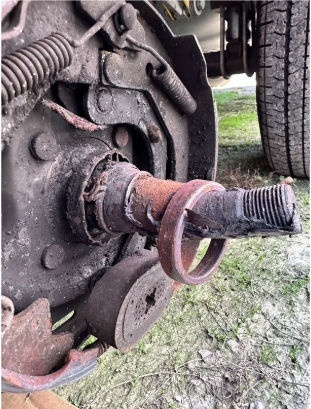
Image shows all old parts once removed
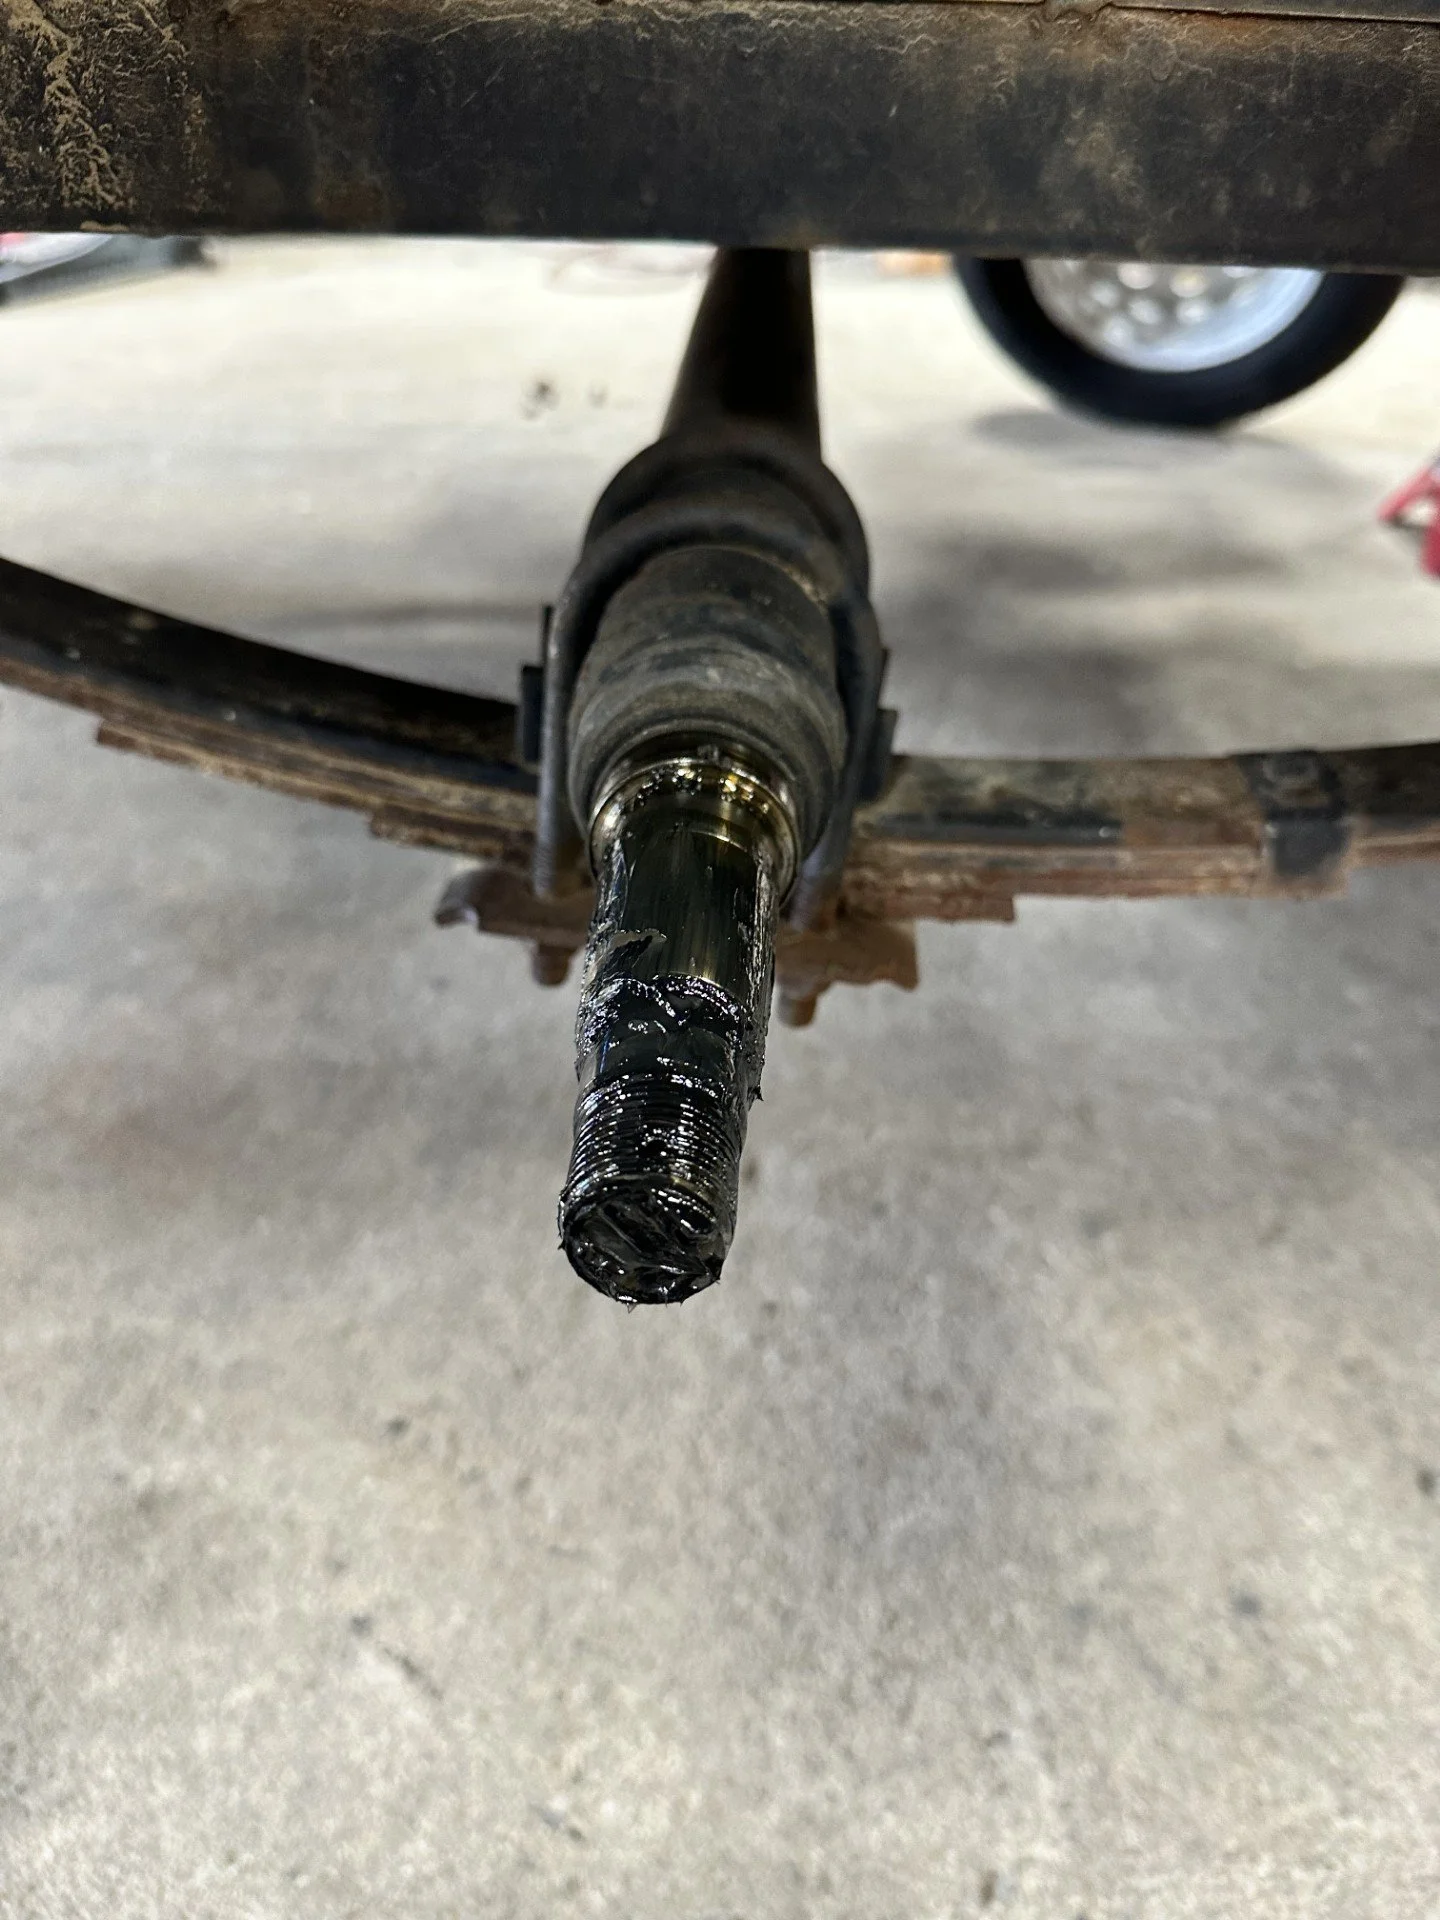
Once everything is removed you can see the contaminated grease on the spindle.
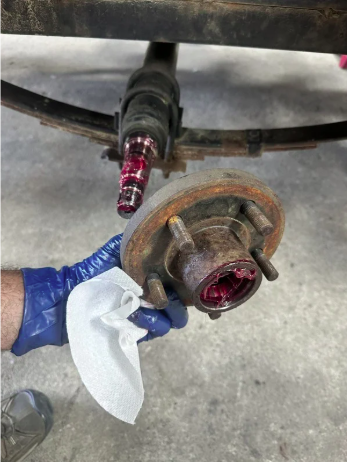
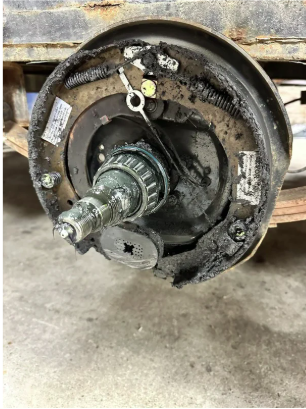
Step 6: Remove the Inner Seal and Inner Bearing
Turn the hub over and remove the grease seal. Once the seal is out, remove the inner bearing. The seal should always be replaced during service rather than reused. This is an important part of the job because a worn or damaged seal can allow grease to escape and contaminants to enter the hub.
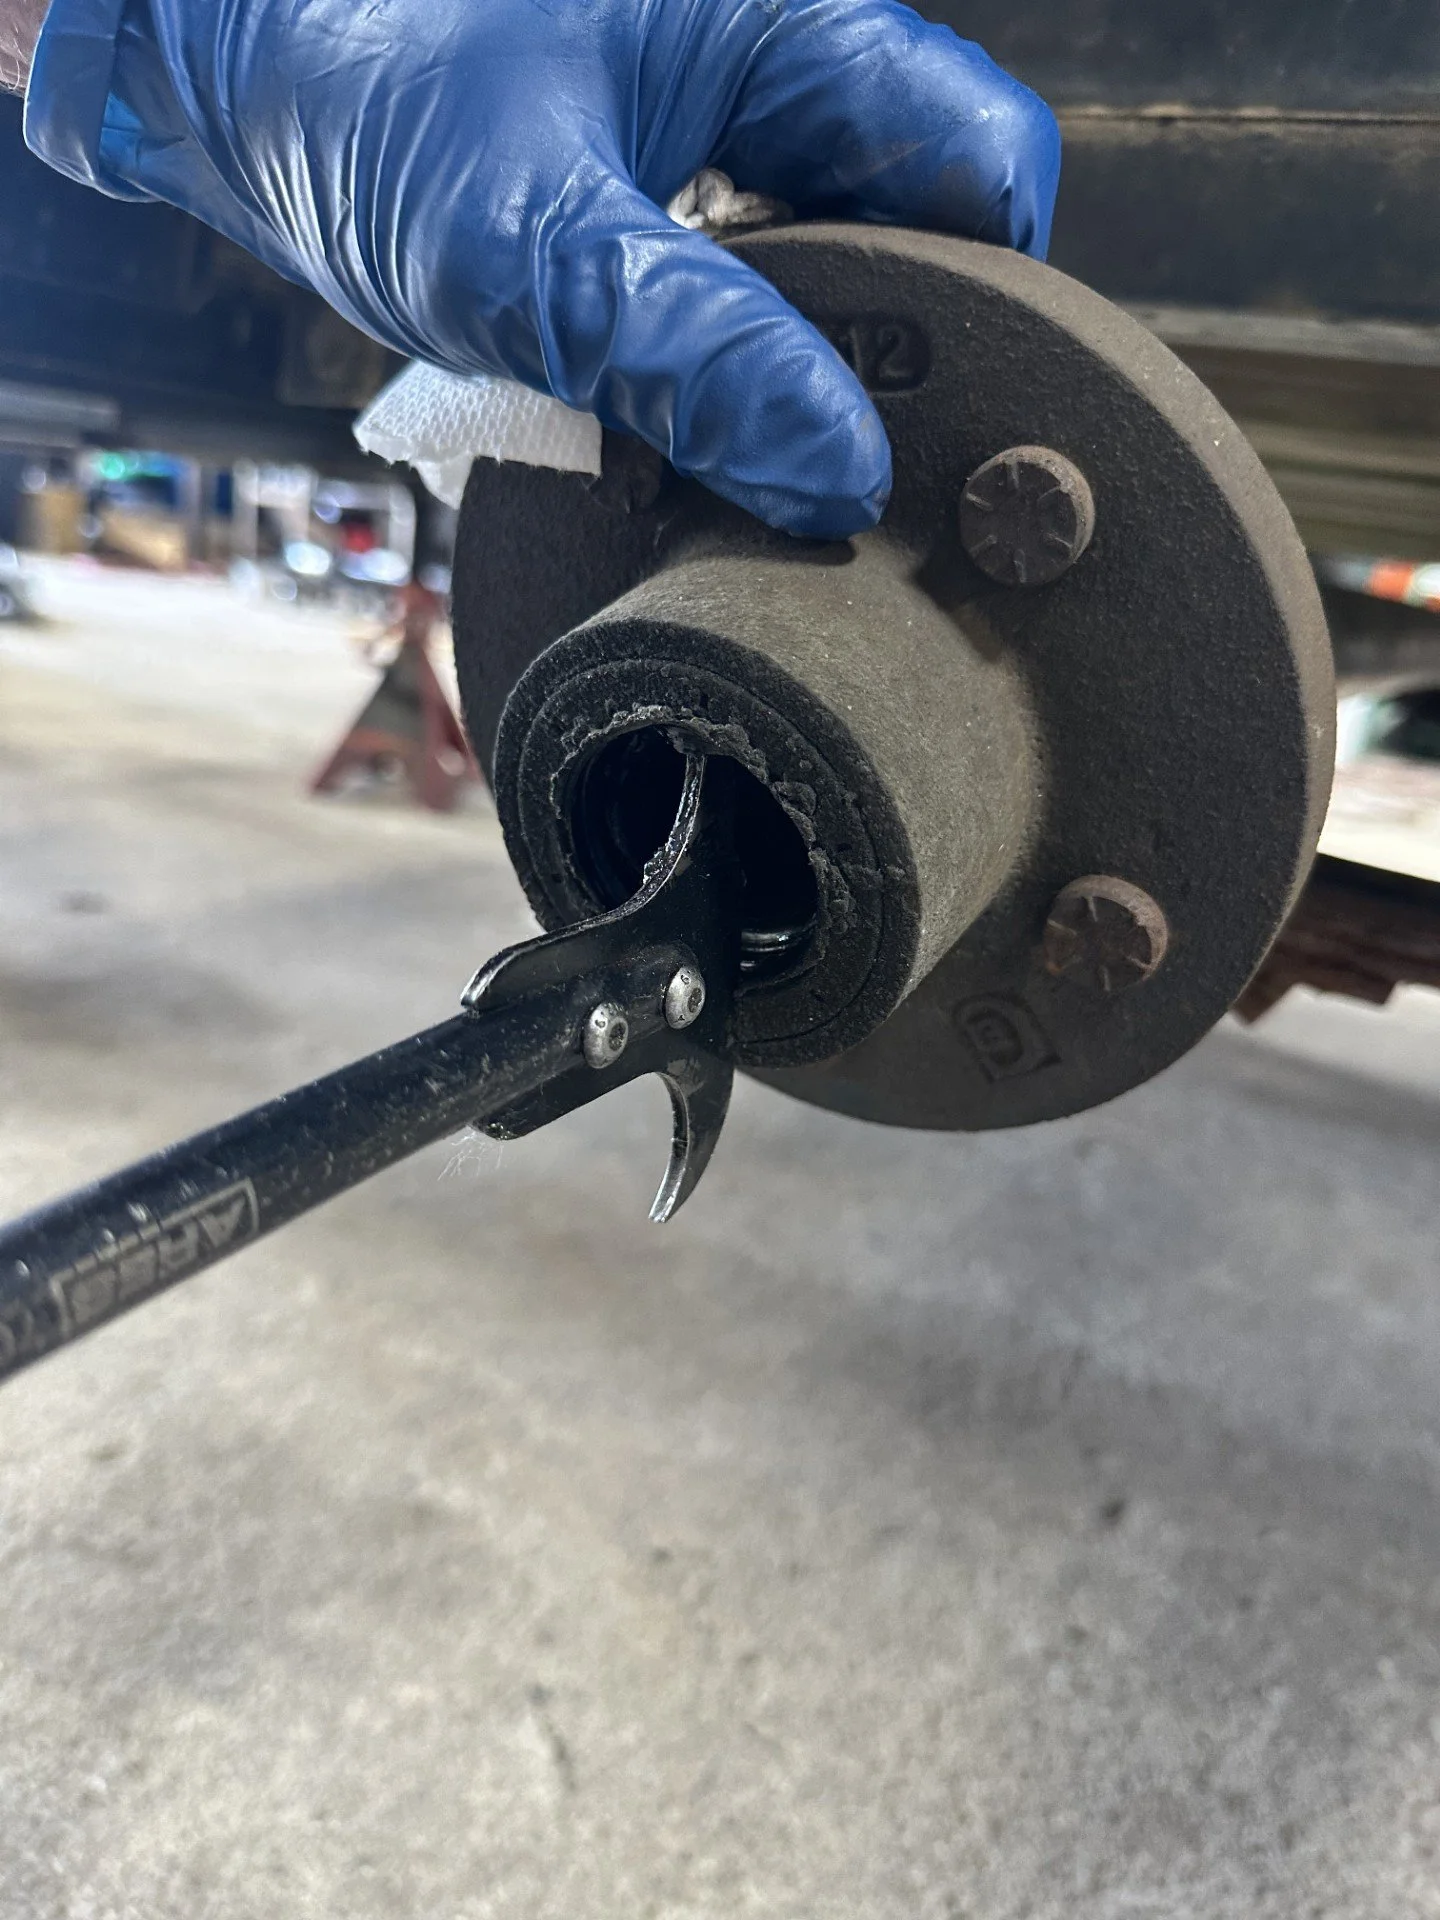
Image shows technician taking hub apart.
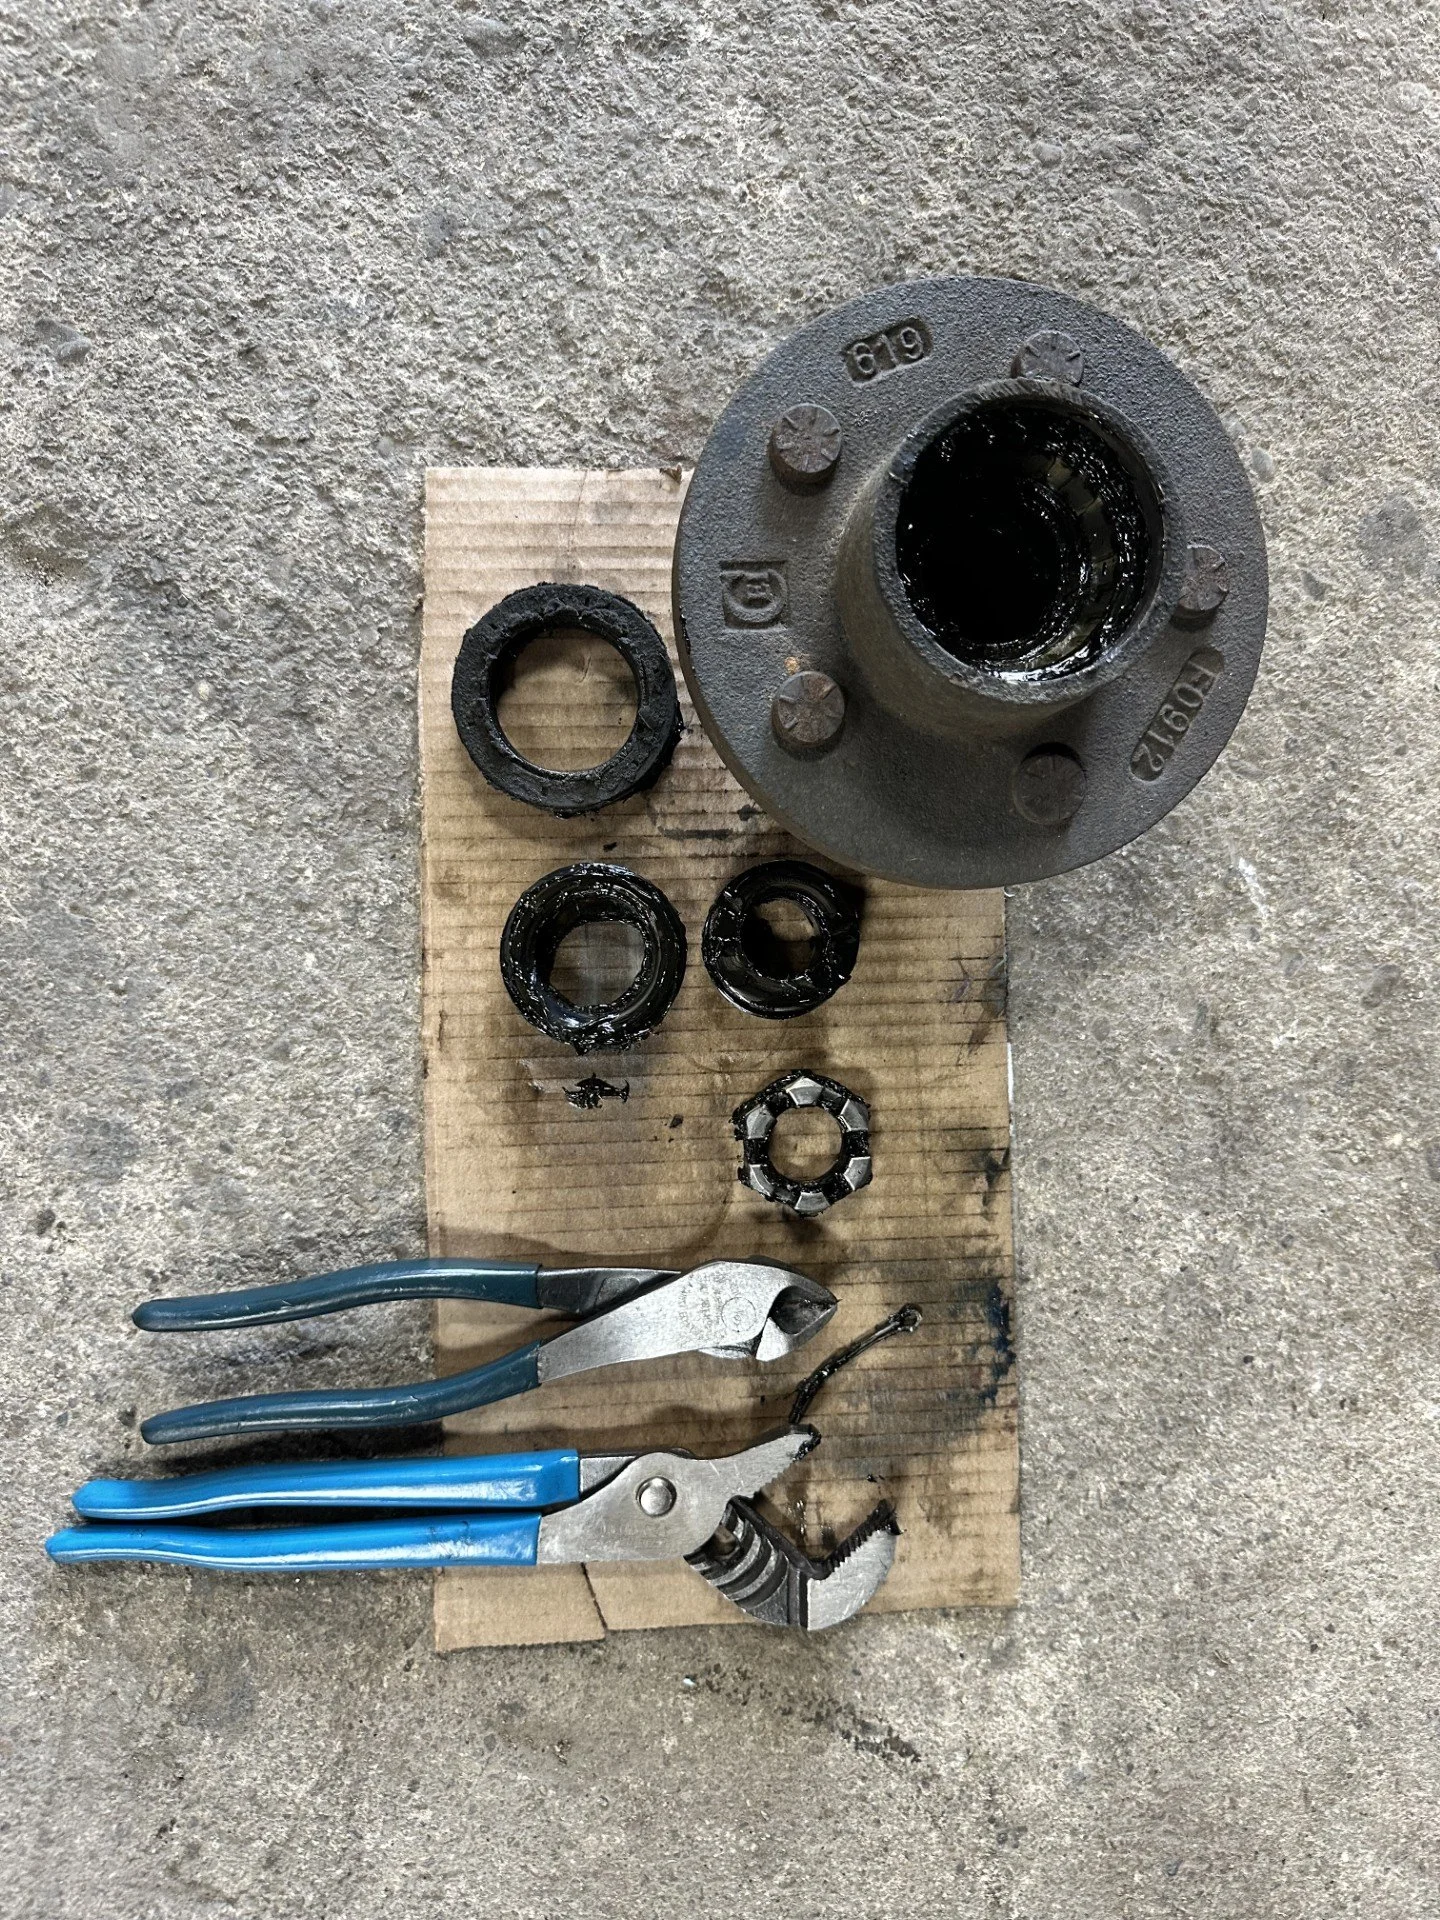
Image shows all of the components once they have been removed.
Step 7: Clean the Bearings, Hub, and Spindle
Thoroughly remove the old grease from the bearings, bearing races, inside of the hub, spindle, washer, and nut. Use a suitable solvent and clean cloths. The parts must be clean enough for inspection before you apply new grease. Old grease can hide wear, metal particles, or contamination.
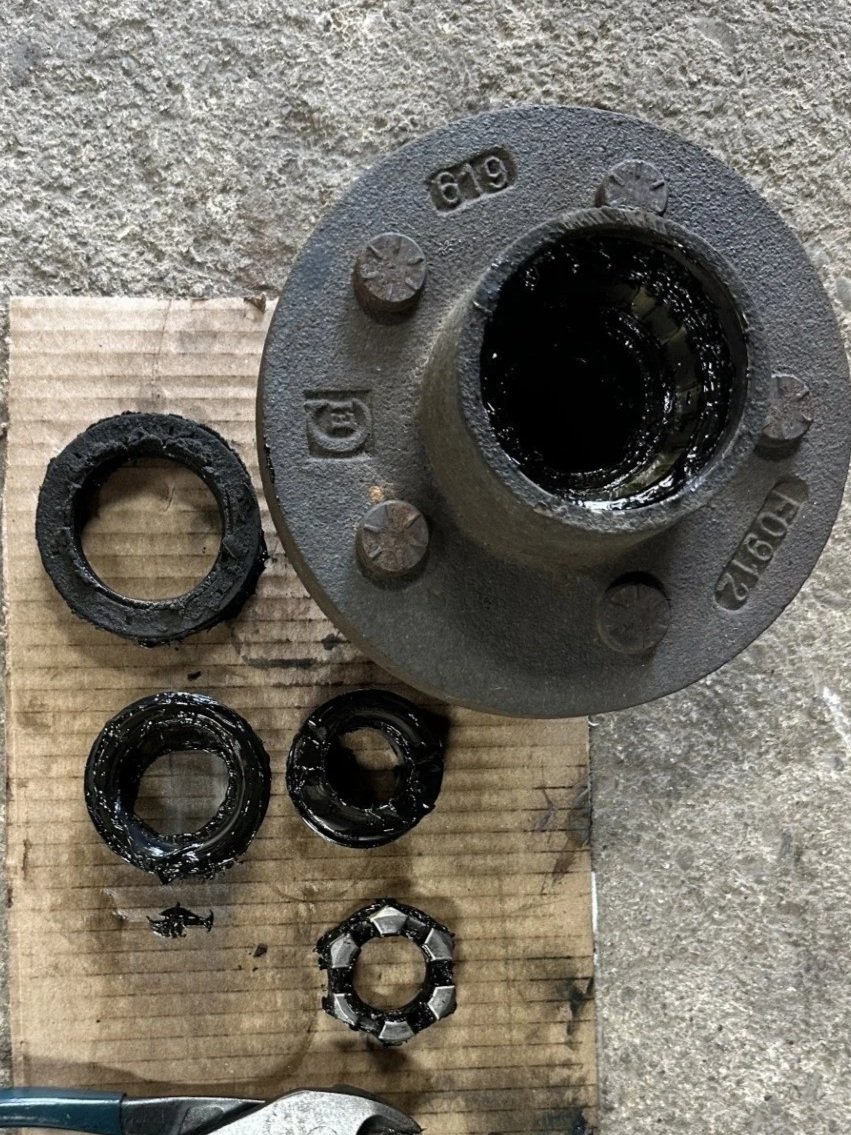
Image shows contaminated parts.
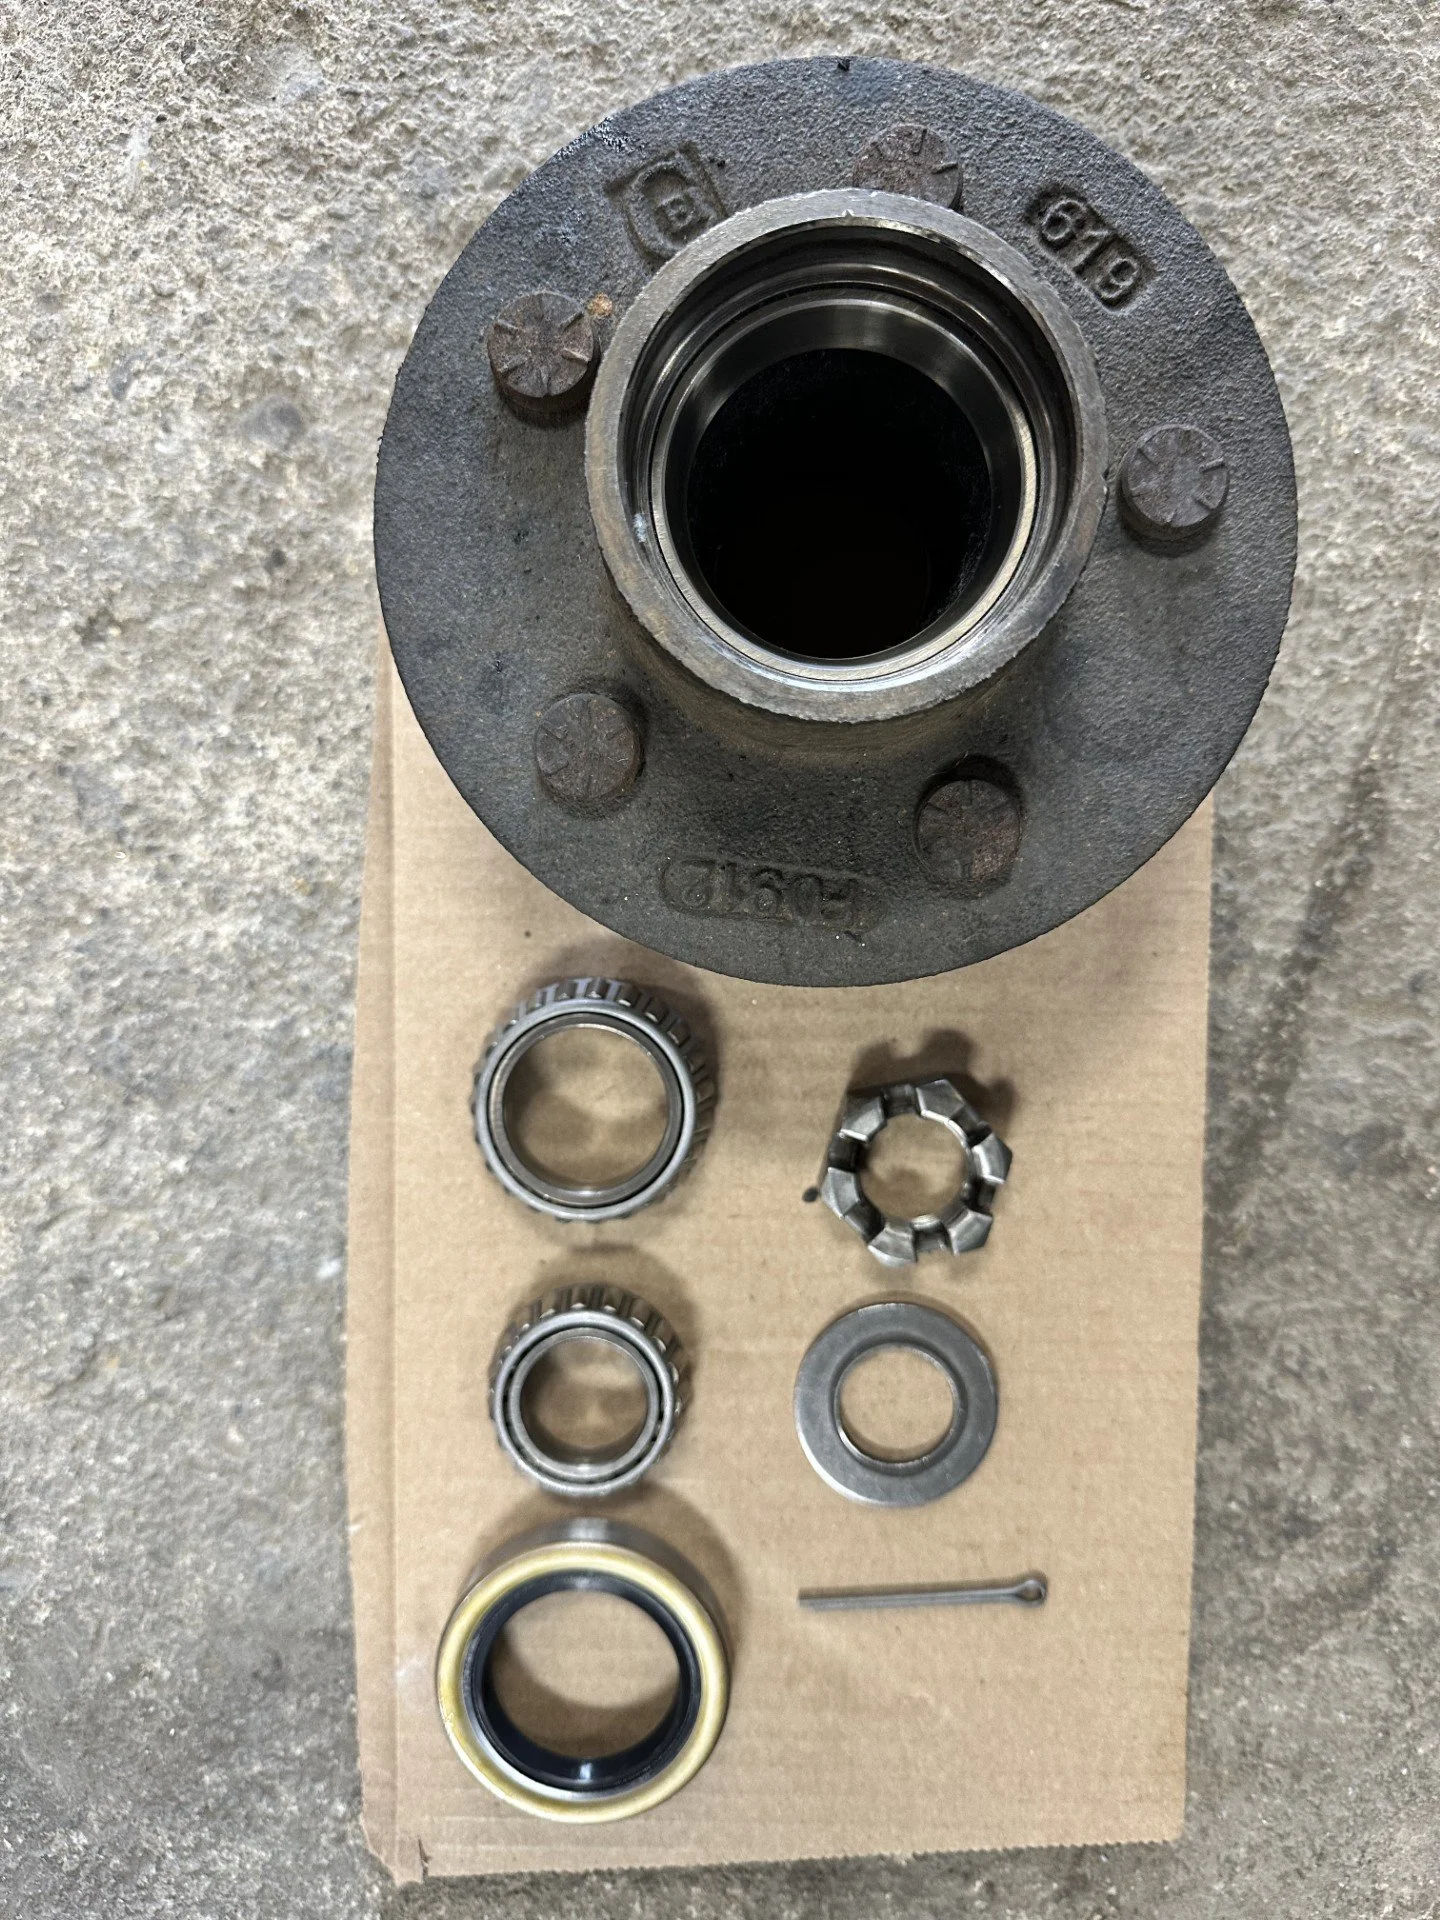
Image shows clean parts.
Step 8: Inspect All Components Carefully
After cleaning, inspect the bearings and races for pitting, scoring, discoloration, rust, grooves, chipped surfaces, or any signs of overheating or abnormal wear. Also inspect the spindle for damage or corrosion.
If a bearing or race shows damage, it should be replaced. Bearings and races should be replaced as a matched set since they wear together over time.

Image shows where spindle needs to be cleaned.
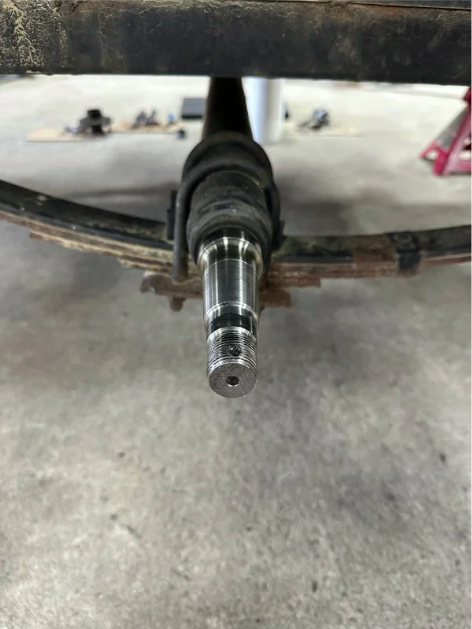
Image shows clean spindle.
Step 9: Hand-Pack the Bearings with Fresh Grease
Work fresh grease thoroughly into the bearing so it is worked up between the rollers and cage, not just smeared on the outside. A common hand-packing method is to place grease in your palm and repeatedly press the wide end of the bearing into it until grease pushes through from the other side. Continue around the entire bearing until it is fully packed, then lightly coat the outside.
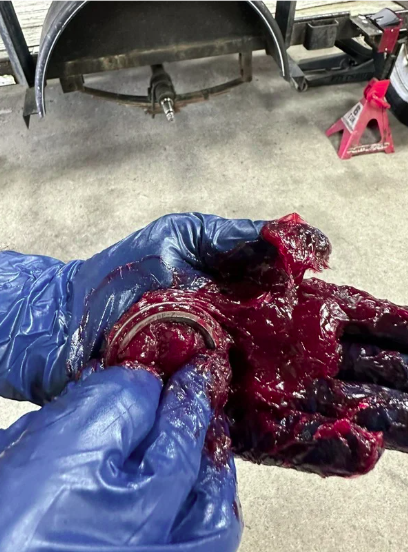
Image shows hand-packing method to grease bearings.
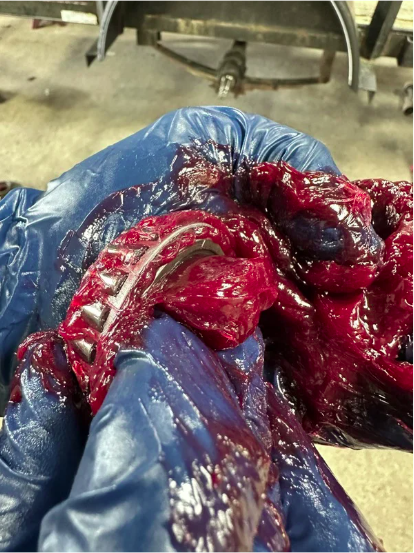
Image shows hand-packing method to grease bearings.
Step 10: Add Grease to the Hub Interior
Apply a light coating of grease to the bearing races and inside the hub cavity. Do not overfill, and be careful to keep grease off brake components if your trailer has brakes.
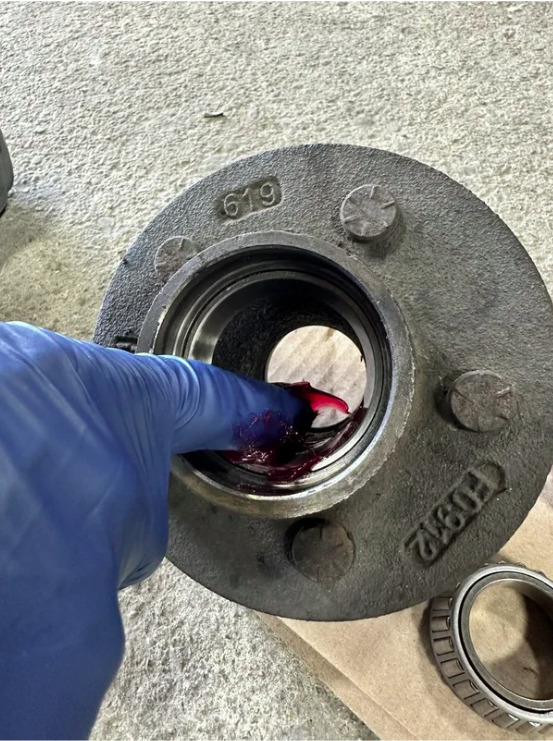
Image shows how to grease the inside hub cavity.
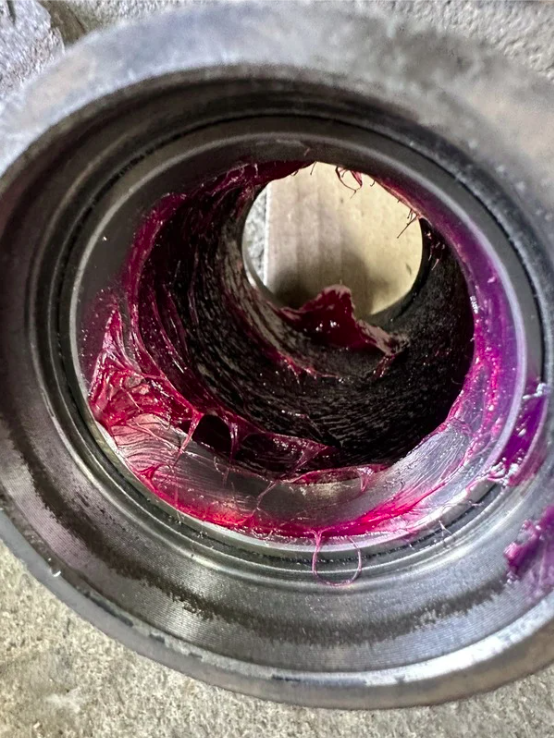
Image shows inside hub cavity freshly greased.
Step 11: Reinstall the Inner Bearing and New Seal
Place the packed inner bearing into the back side of the hub. Then install the new grease seal squarely and gently until it is fully seated. A seal driver is ideal, but a block of wood can help protect the seal while tapping it into place.
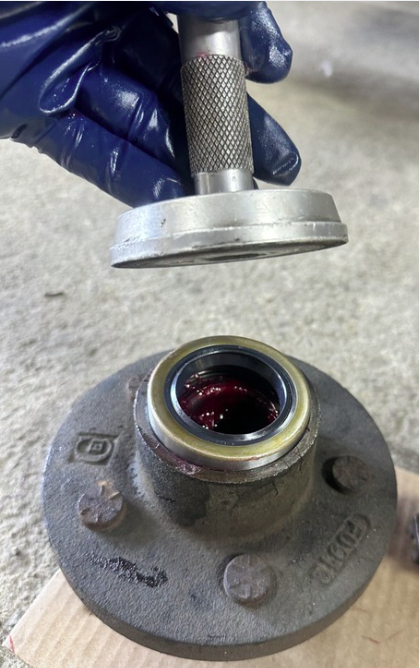
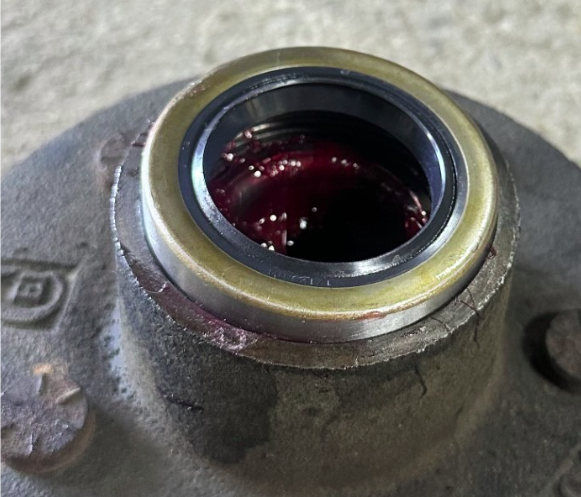
Image shows grease seal has not been set.
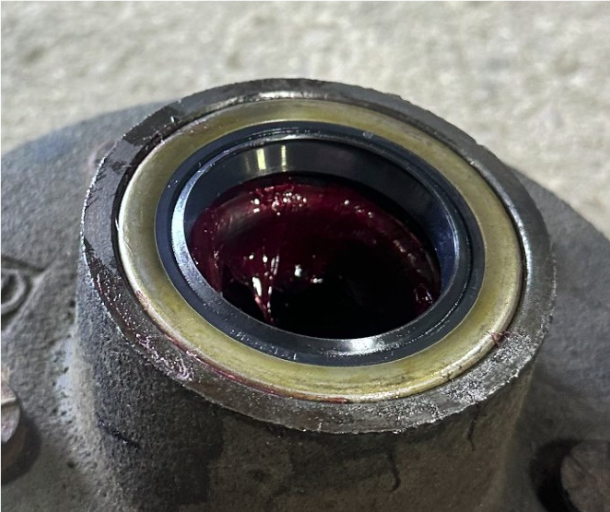
Image shows the grease seal has been set.
Step 12: Reinstall the Hub onto the Spindle
Carefully slide the hub back onto the spindle without damaging the new seal. Once the hub is in place, install the packed outer bearing, washer, and spindle nut in the correct order.
Step 13: Adjust the Bearing
This step is just as important as lubrication. Tighten the spindle nut firmly while rotating the hub to fully seat the bearing and distribute grease throughout the assembly. Then loosen the nut completely to release that pressure, and retighten it by hand only until it is snug. Finally, back the nut off slightly to the nearest cotter pin hole so the hub turns freely with no noticeable drag.
Correct axle nut tension helps the wheel hub rotate smoothly without creating unnecessary heat or movement. Bearings adjusted too tight can overheat and wear prematurely, while bearings adjusted too loose can allow movement that may damage bearings, seals, hubs, and other wheel-end components.
Always follow the adjustment and torque procedure specified by your trailer manufacturer when one is provided.
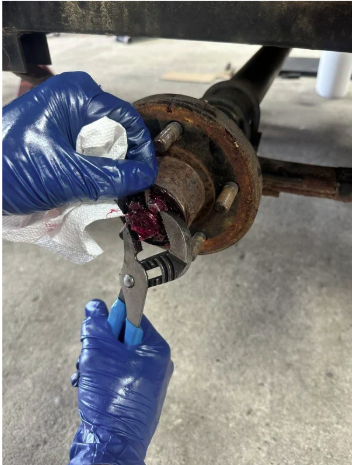
Image shows installing the cotter pin.
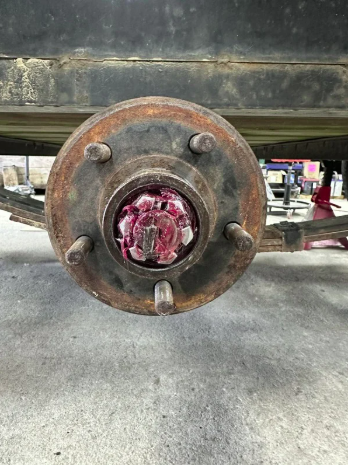
Image shows what it looks like once the cotter pin is installed.
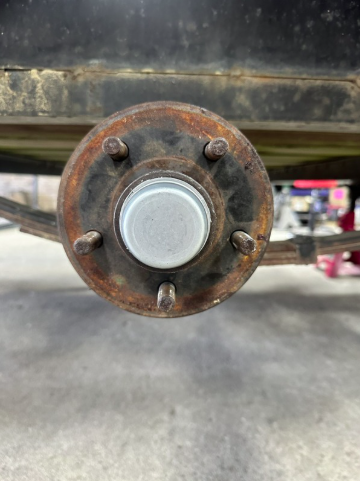
Step 14: Install the Retainer and Dust Cap
Once the adjustment is correct, reinstall the cotter pin or retainer clip. Then reinstall the dust cap, tapping it in evenly until fully seated. The cap helps protect the bearing area from dirt and moisture.
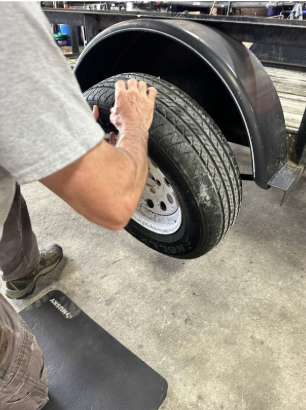
Step 15: Reinstall the Wheel and Torque the Lug Nuts
Put the wheel back on, snug the lug nuts, lower the trailer, and torque the lug nuts to the manufacturer’s specification. Proper wheel torque is an important part of safe towing and should not be guessed.
Step 16: Spin and Check Your Work
After reassembly, spin the wheel by hand. It should turn smoothly without grinding or wobble. Check for noticeable looseness.
A small amount of movement at the tire is normal. No movement may indicate the bearings are too tight, while excessive movement indicates they are too loose.
After a short test tow, stop and carefully check the hub for unusual heat. Any noise, drag, or play means the assembly should be inspected again before further travel.
Common Mistakes to Avoid
A few simple mistakes can cause major issues. Use this quick checklist to help avoid common wheel bearing maintenance errors:
☐ Do not reuse a grease seal — seals are commonly damaged during removal and should be replaced during service.
☐ Do not skip cleaning before inspection — old grease can hide wear, contamination, or damage.
☐ Do not pack fresh grease over contaminated grease — remove old grease completely before repacking.
☐ Avoid getting grease on brake components — contamination may affect braking performance.
☐ Do not guess at bearing adjustment or torque values — always follow manufacturer procedures when specifications are available.
☐ Do not overtighten or under tighten the axle nut — incorrect adjustment can contribute to overheating, excessive movement, and premature bearing failure.


Final Takeaway
Bearing maintenance may not be the cleanest job, but it is one of the most valuable preventative maintenance tasks a trailer owner can perform. Clean components, proper inspection, fresh grease, a new seal, and correct adjustment all work together to keep your trailer rolling safely.
If anything appears worn, damaged, or questionable during the process, replace the affected parts or have the assembly inspected by a professional before towing again.